Blind corners are always a challenge in the kitchen, and there have been enumerable solutions offered from lazy susans to chevron-shaped drawers. There’s also a host of hardware solutions, seemingly with new ones every day.
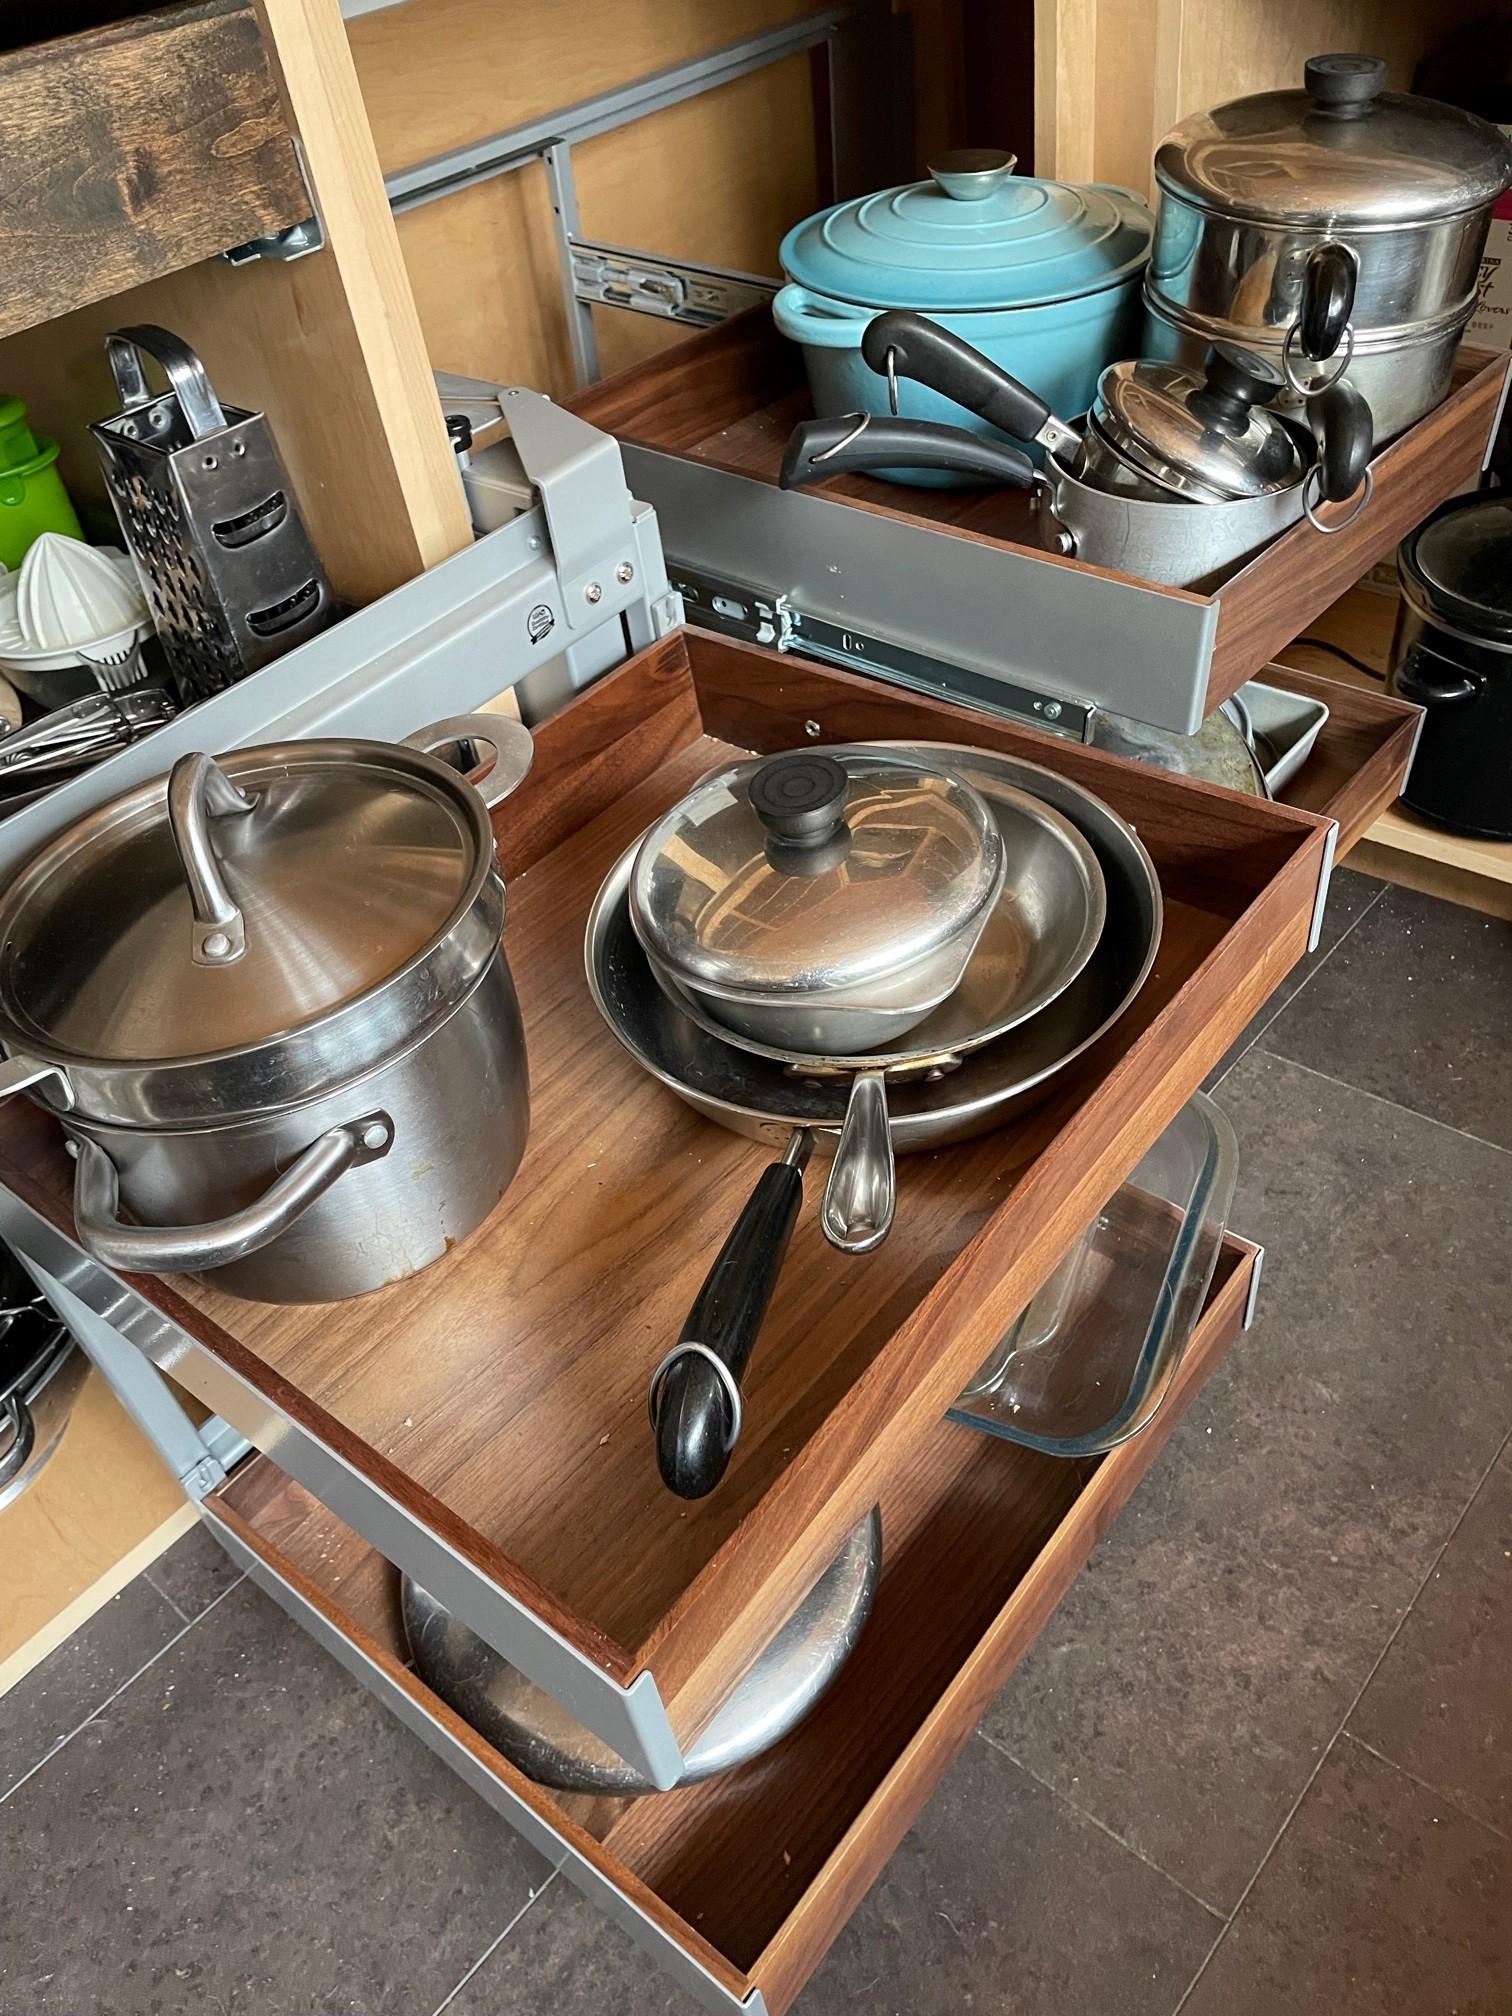
The kitchen in the house my wife and I built is designed to be small and efficient. We didn’t want to waste any space. But it has two blind corners to deal with. Further complicating matters, my wife has some mobility issues, and neither of us are getting any younger. We don’t want to be crawling around to reach deep into cabinets.
It’s magic!
I explored every corner option I could find online and at trade shows, and I came away really impressed with the Magic Corner II system from Hafele and Kessebohmer. It wastes less space, and it actually brings everything in the cabinet out in the open so you hardly even have to bend down to access everything. It uses a system of interconnected racks and boxes that rotate and slide completely out of the cabinet. Even items stored in the dark nether regions of the blind corner come out into the light.
But how difficult is it to install something like this complex contraption? And does it present opportunities for cabinet shops to upsell customers and solve that blind corner challenge at the same time? I would soon find out.
How it works
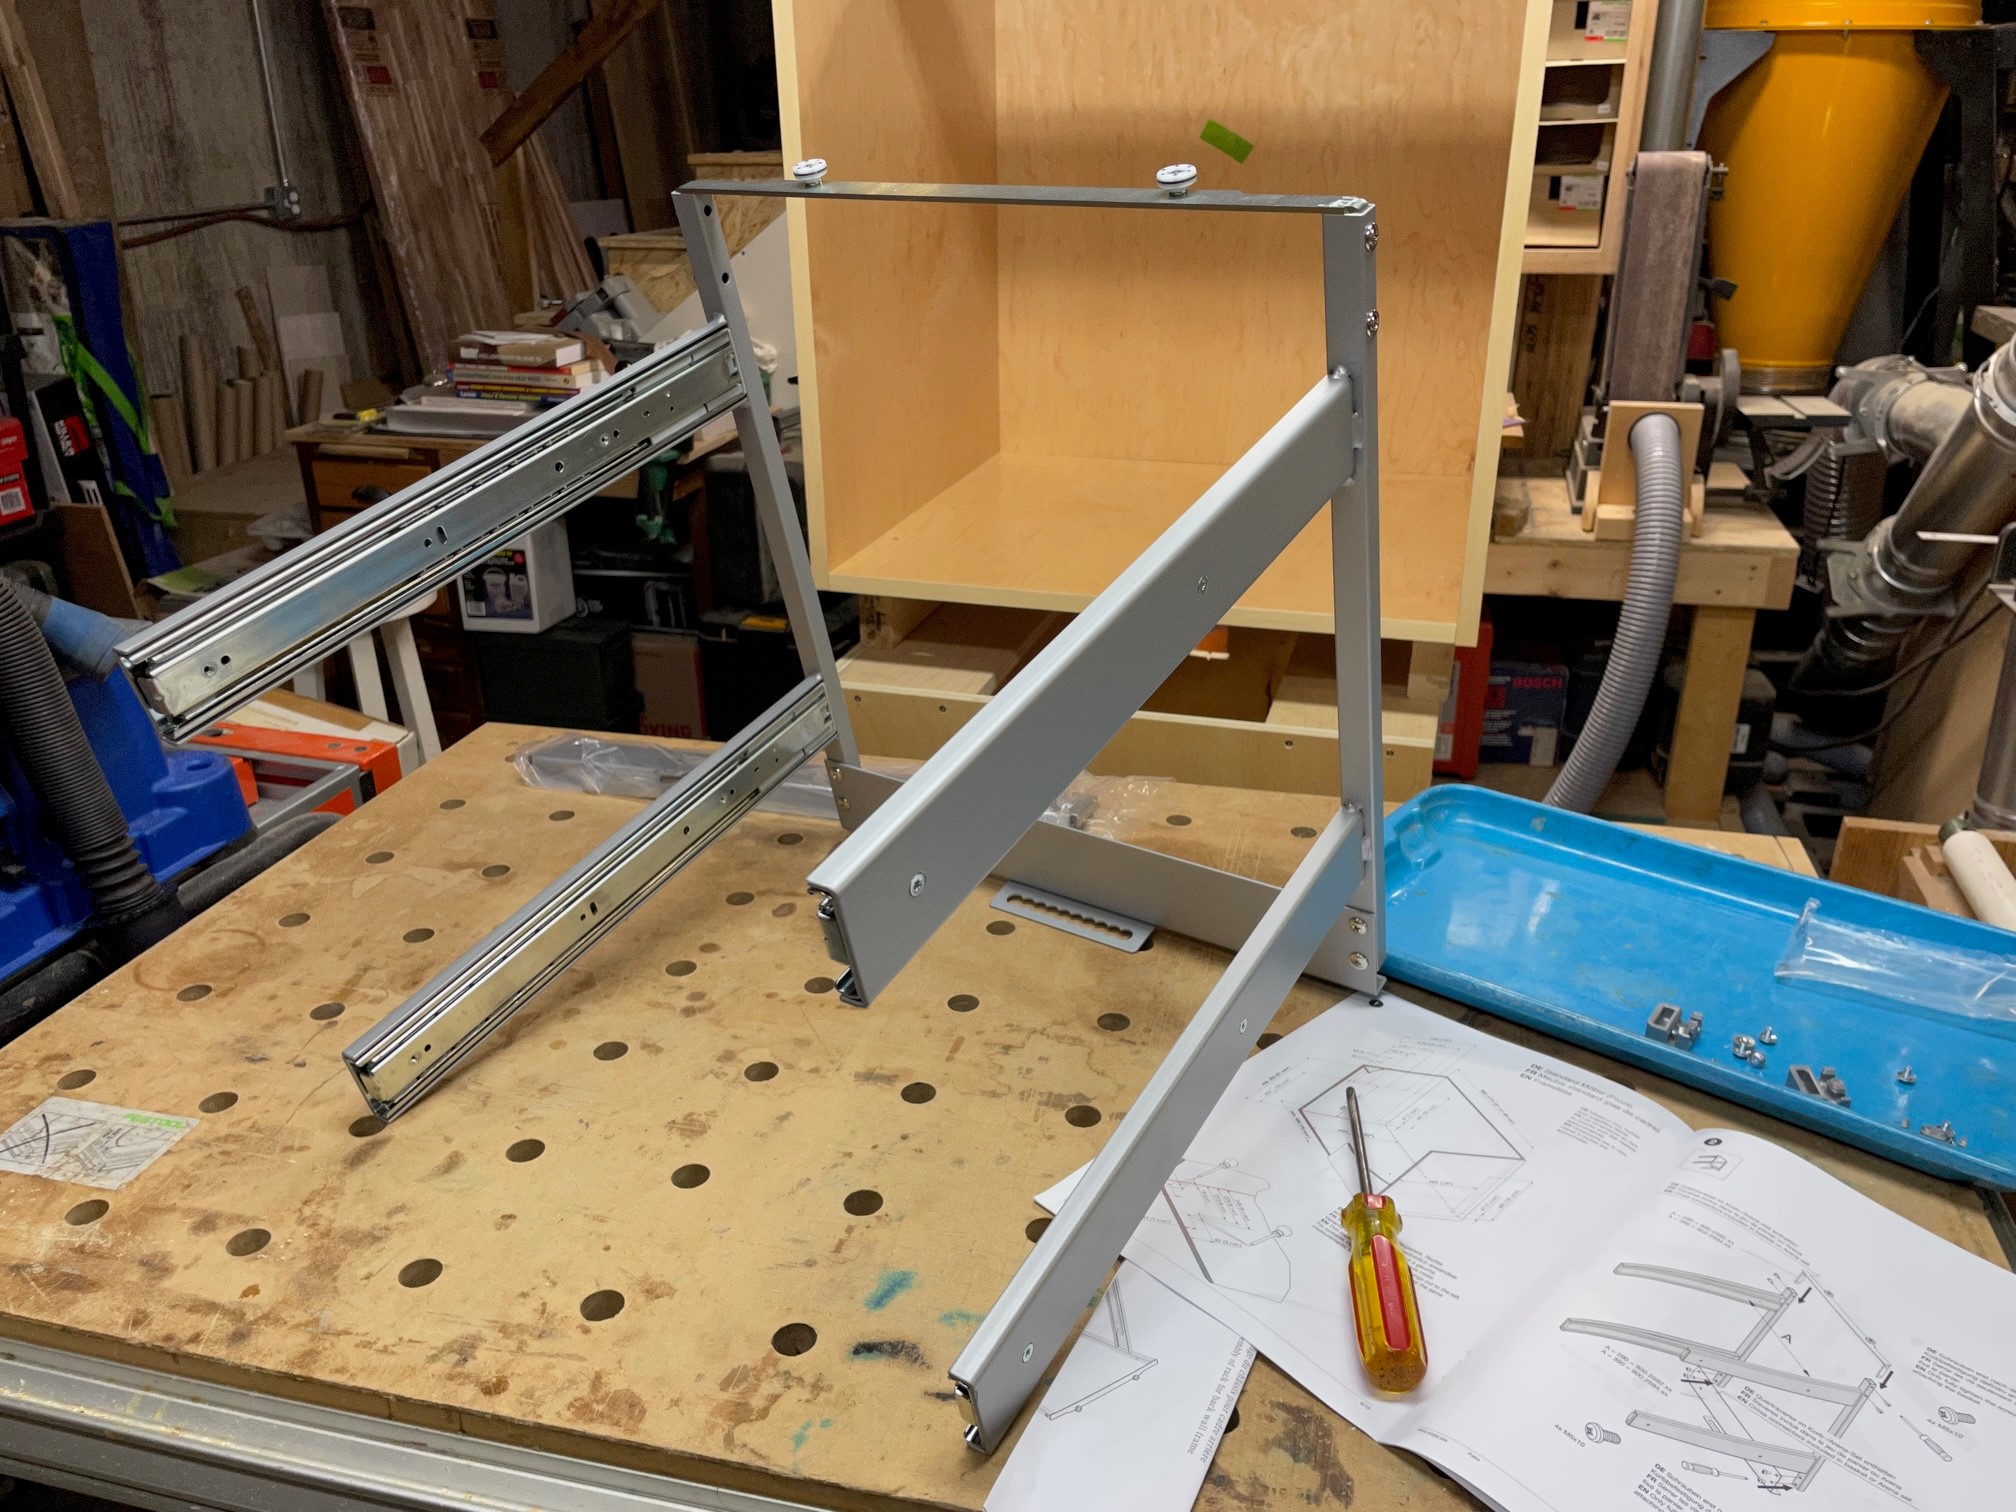
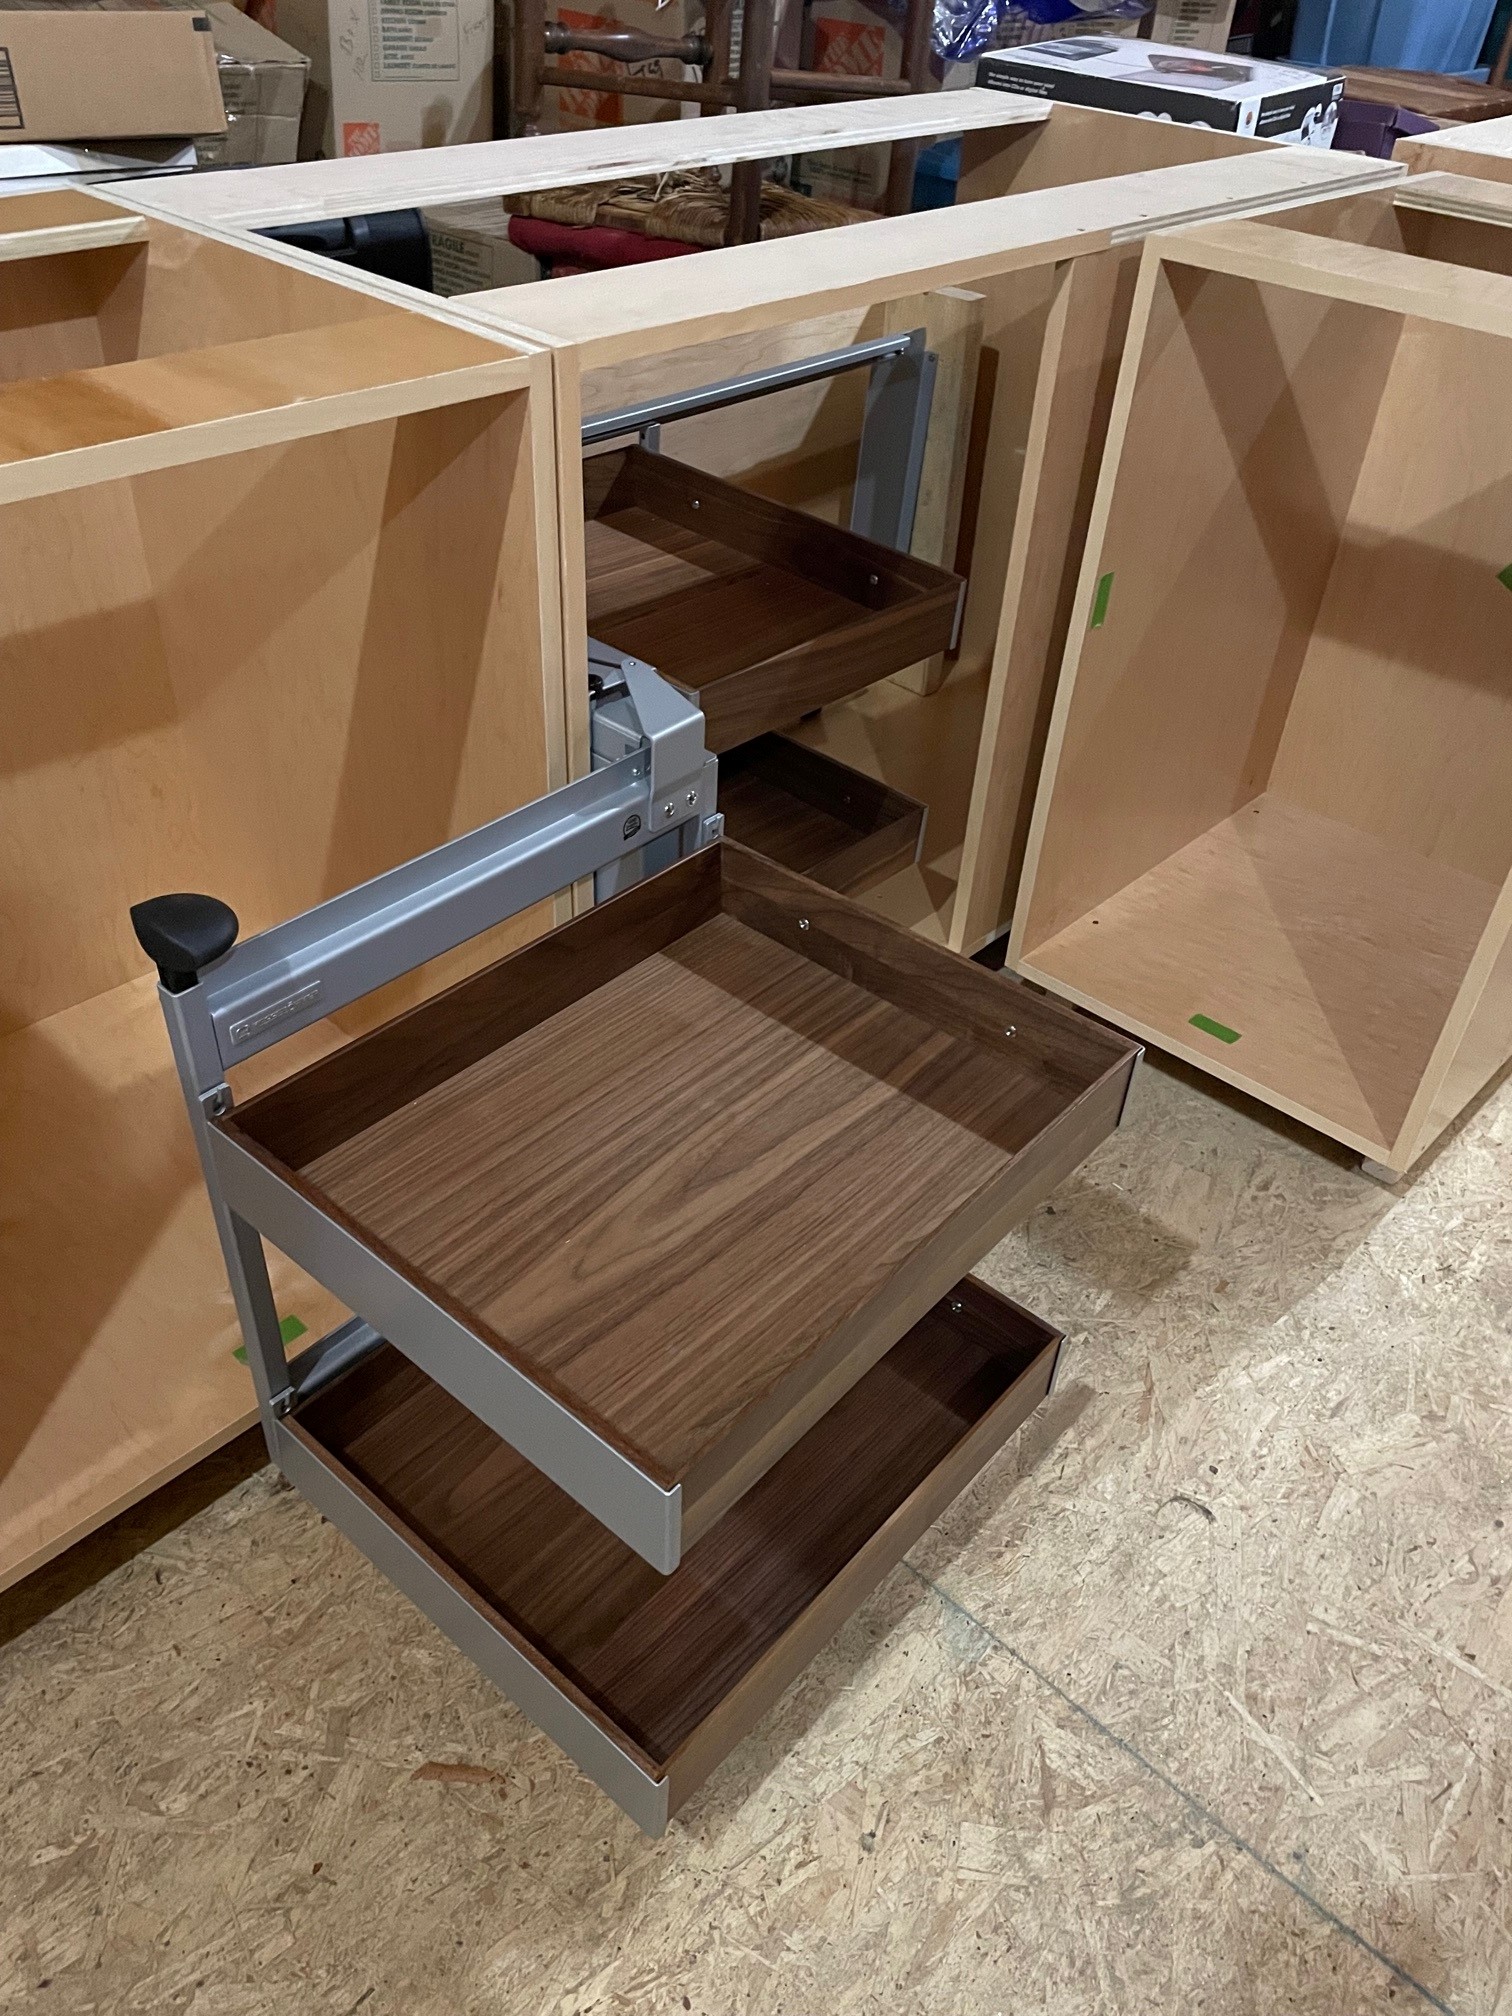
The Magic Corner II is basically two storage units connected to each other. The one in front has two boxes that hang on a moving metal frame connected to soft-close slide hardware. When you pull a knob, it draws the front unit out of the cabinet while simultaneously rolling the rear unit to the cabinet door opening.
The first unit pivots completely out of the cabinet, making way for the second unit to be accessed. The second unit has two boxes mounted on soft-close slide hardware. Each box can be pulled out of the cabinet individually like a regular drawer or rollout.
Closing the unit is really easy. Just roll the back drawer boxes to their original position inside the cabinet. Then, using the big knob, rotate the front unit back into the cabinet, which automatically rolls the back unit into the blind corner area. It takes way more time to explain it than do it.
Options
Now that we understand how it works, let’s see about putting it all together and installing it. At this point I should mention there are some options you have to choose. The most important is whether you need a right or left unit depending on how the unit swings out of the cabinet. We needed one of each, but accidentally got shipped two rights, so we had to return one to get the correct unit.
Other options are less functionally and more esthetically important. You have your choice of several finishes and box configurations. We chose walnut boxes and gray metal hardware. Other folks might prefer chrome wire or something different. The walnut boxes look great against the gray metal.
Assembly
Everything arrived very well packed, double boxed and protected by foam and crumpled paper. The instructions are very clear and come with a full-size paper template for locating and drilling screw locations. One thing to watch out for is the drawings in the instructions are all for a left rotating unit and ask you to simply reverse the operations if you are doing a right-handed unit. The template sheets are different, so there was no problem there, but the mental gymnastics of reversing instructions left or right was sometimes a little confusing, especially since we had both kinds on hand.
Following the directions and using all the supplied hardware, it was not too difficult to put everything together and test it. Working deliberately step by step was the way. If I were doing a lot of these in kitchen after kitchen, it would quickly become second nature.

Installation
Hafele provide a detailed online diagram showing the design parameters for the cabinet to put this unit into. I had followed that closely when I built the cabinets, so there were no surprises in the installation. Using the full-size templates, I marked and center-punched all the screw locations. Nothing had to be redrilled or relocated.
Then it was just a matter of putting everything in the cabinet. The back rail that supports the long-sliding rear shelf assembly needs to be correctly aligned and secured. It’s adjustable for different cabinet depths within a short range. But once it is secured and installed, it works smoothly.
The two shelf units, front and back, are connected with triangular pivoting chrome bar that rotates in a fixture screwed to the floor of the cabinet. The location is important, but the template takes care of that. There are a range of pivot holes for the rotating arm to connect to in the back sliding unit, but you’ll likely just select the one that offers the best fit with your installation.
Doing the doors
It’s exciting when you get the whole unit installed and see how well it works. I confess to just standing there playing with it for a while. But your next challenge awaits, the door.
On some blind corner units, the door is actually connected to the mechanism. That’s not the case with the Magic Corner II. Still, you need the right door hardware. I consulted with the folks at Hafele to get a specific blind corner door hinge, in this case made by Salice.
In locating the door hinges you need to take care to avoid any interference with the unit inside, and in designing your cabinets you need to provide clearance for handle hardware so the door can open fully and allow the Magic Corner units to exit the cabinet.

Great solution
We love this solution for blind corners. While it is not the least expensive, it is still the most space efficient and ergonomic we’ve found. Cabinet shops can add value to their cabinets by using the system. Learn more at hafele.com.


Have something to say? Share your thoughts with us in the comments below.