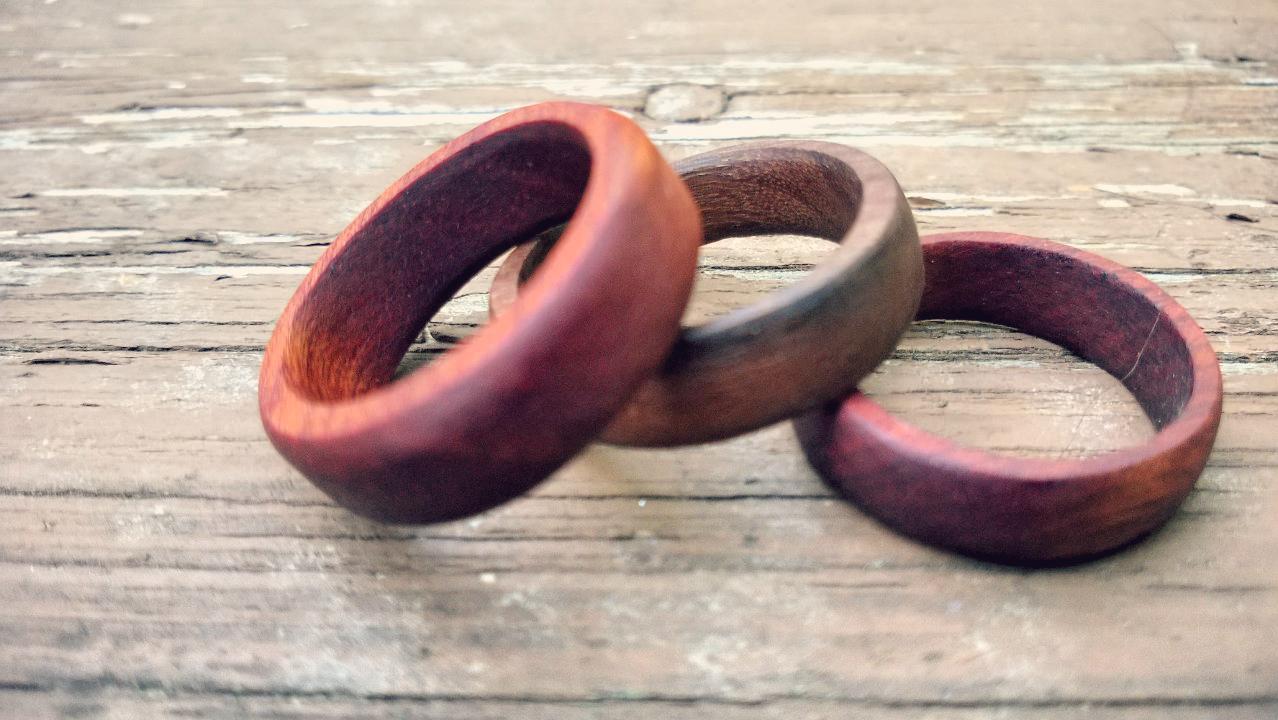
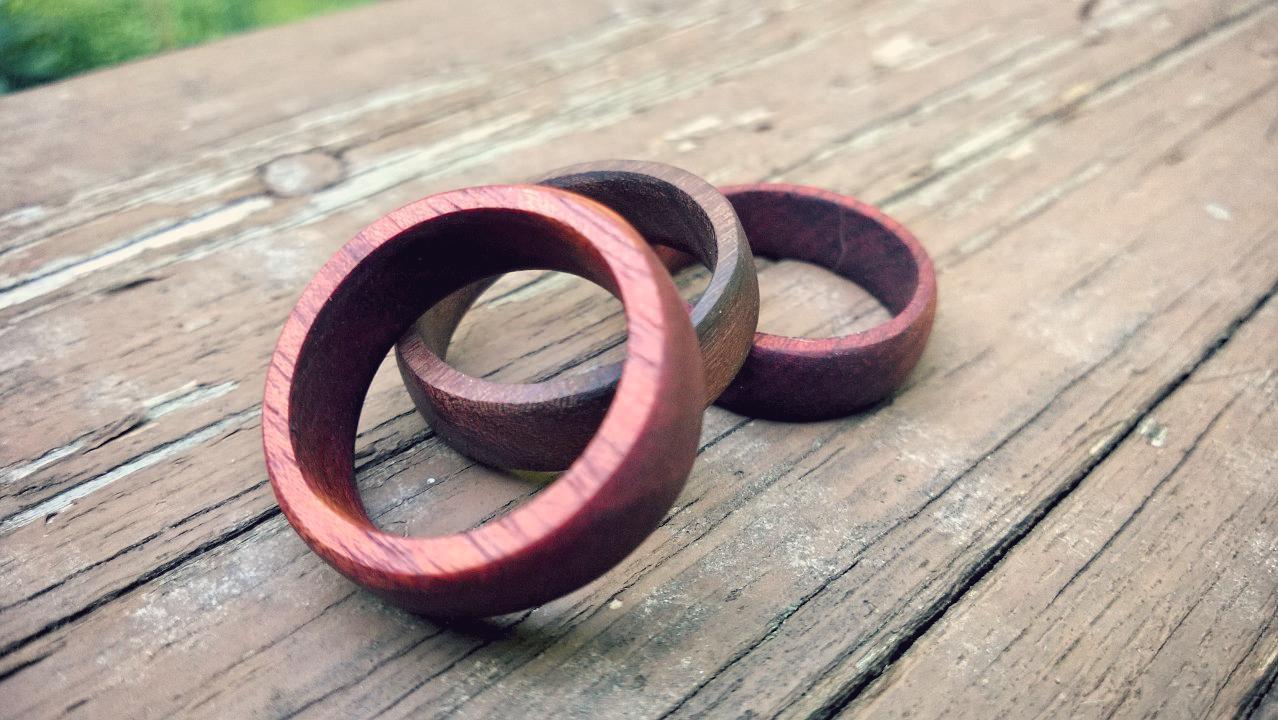
Wooden rings of African Paduak (outside) with Ipe in the middle.
Photo By Woldandiron.com


The first step in making a wood ring is choosing the right wood. Since the ring will be fairly thin you’ll want to choose a fairly dense and strong wood.
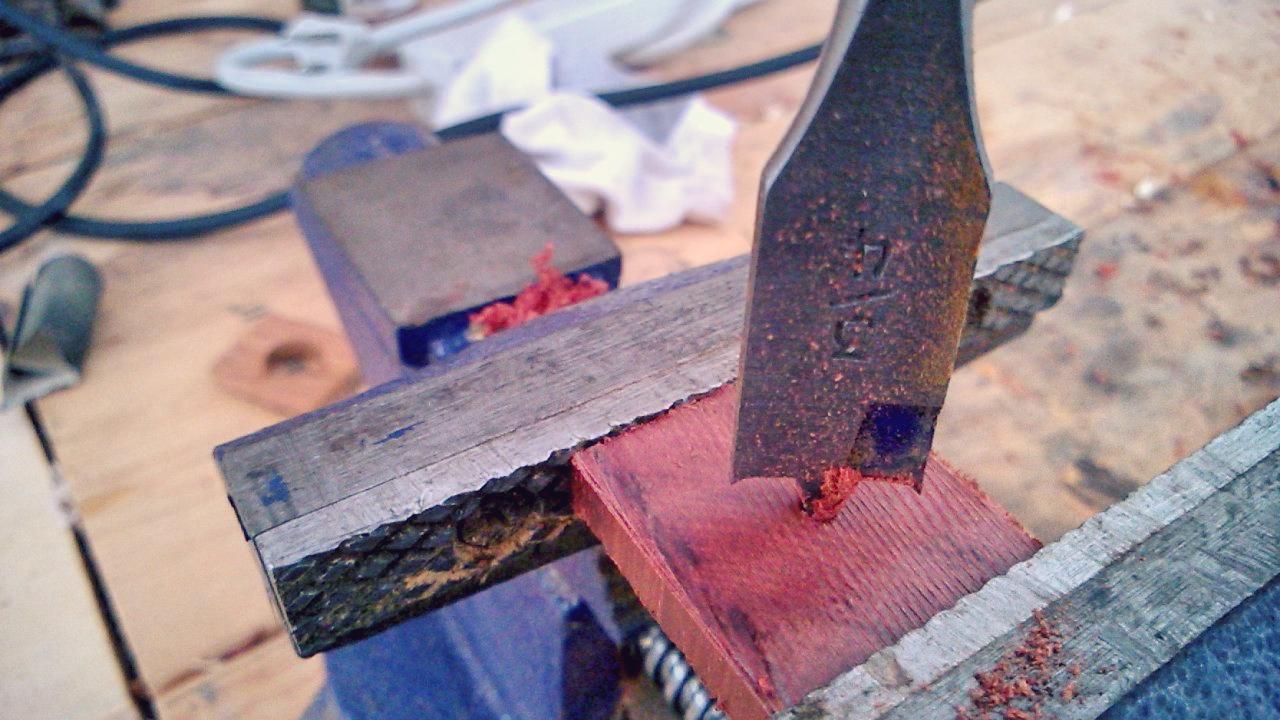
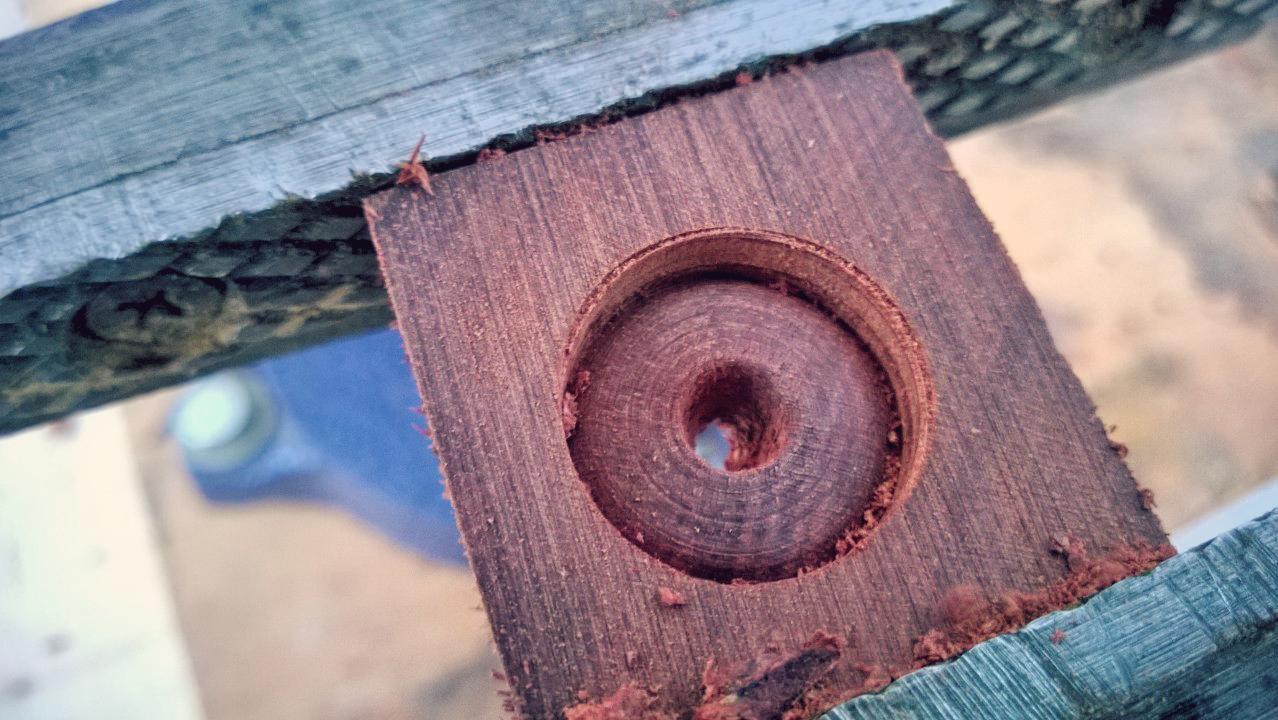
In the illustrations below I am using African Padauk which has a deep orange or reddish color that will turn a warm brown over time with exposure to UV light. I have also used Ipe which is a Brazilian Walnut and has a darker color as would be expected. Local wood supply stores usually have a bin of exotic wood billets which are perfect for these projects.
These woods have great properties and are not expensive at all. You could make a hundred rings for around $5. You can’t always tell the type of wood you are getting, though, so just try and go for the darker pieces which is generally heart wood. Ipe, for example, is so dense it will actually sink in water. It’s an excellent wood for making bows as well.
More details are at the WolfandIron.com


Have something to say? Share your thoughts with us in the comments below.