
Woodwork is an art and science of nuance. The simplest woodworking mistakes can cost you time and money – and possibly future work. You can avoid many common mistakes with some foreknowledge. Here’s our list of the most common – and most easily avoidable – woodworking mistakes.
Router burn
Routers add nuance and artistry to your work and help you put your signature on each piece. Their ability to hollow out wood, create designs, and form shapes and cutouts really lets you add high-quality, professional detail to your work.
You might also use them when creating joints since they can produce smooth surfaces on perfectly sized joints that form strong bonds.
Unfortunately, routers can also cause router burn. Because routers work by generating friction, the heat that develops can leave unsightly burn marks on the wood. The faster the router turns, measured in revolutions per minute (RPMs), the greater risk of router burn.
You can help avoid router burn by making sure the router is clean and sharp before using it. Dirt, dust, resin, and dullness all create more friction. The more friction, the greater and faster the router will reach a point of burning heat.
Another way to prevent router burn is to use it in a controlled fashion. If you want to carve out a deep inlay, go in slow, shallow passes. Don't try to go deep in one pass. Even if the router is clean, the longer you have it running before it has a chance to cool down, the more likely you'll leave behind some router burn. Also consider reducing the router speed, especially on species that are prone to router burn.
Moisture problems
Wood is constantly absorbing and releasing moisture. The temperature and relative humidity of the surrounding air will always impact the moisture content of the wood. Finishes like stain or paint might limit how much moisture moves between the air and wood, but it doesn't stop it.
In a dry environment, the moisture in the wood will tend to evaporate into the drier air. This can cause boards to shrink and crack. Gaps can appear at the joints. If there's a lot of moisture in the air, the wood will absorb it. The wood can swell, causing buckling or splitting. In either case, drawers, cabinets, and door frames can start to look deformed and ill-fitting. Even pieces that aren't framed, like tables, can form separations and cracks that ruin the aesthetic value of your piece.
It's essential to let wood acclimate to its surroundings before starting to work with it. By "surroundings," I mean the environment where the piece will be used, not your workspace.
The most common mistake woodworkers make when acclimating the wood (besides not letting it acclimate), is guessing when the wood is ready. Don't think that because a certain amount of time has passed, the wood must be acclimated. The only way to know if the wood has reached a safe moisture level is to measure its moisture content with a moisture meter. (See more on this topic below.)

Using a dull or wrong saw blade
These are two separate mistakes but boil down to the same issue – making bad saw blade choices. Don't do it.
Let's start with using a dull blade. You wouldn't shave with a dull razor. Why would you use a dull blade on your woodwork? It's not going to make a clean cut. You'll be left with either manual work to fix it or a misaligned piece that ruins what you're building.
Dull blades encounter a lot of resistance. This causes high friction. As with the dirty or dull router, friction and resistance can create burn marks on the wood.
Dull blades are also a safety hazard. They need more force to cut through the wood, which can result in split wood, a broken blade, or dangerously mishandling the saw. Inspect the blade before using it. If it's not sharp, then sharpen it if you can, or take your blade to someone who can sharpen it, or buy a new blade.
If you choose the wrong blade – or wrong saw – you're setting yourself up for problems. Consider the materials, their intended purpose, and the type of cut being made when selecting the right saw and blade. You don't want to use a framing blade for precision cuts. The more teeth in the blade, the finer the cut. If you aren't sure which blade is right for the job, ask an expert or do some research.
Blowout (or tear out)
Another ugly consequence of using a dull or wrong blade is blowout, also called "tear out." Blowout is the chunks or bits of wood that get torn out when using any of a variety of tools. Blowout leaves behind grossly uneven or damaged wood. This shouldn't happen.
Blowout is most likely to happen when you cut across the grain, where the support structure of the grain is weakest. This is why blowout is also common when moving your router from end grain to edge grain to smooth out a curve.
It can also occur if you push the tool too fast. As a general rule, the faster you push a router, the greater the chance you'll cause some blowout. You’re less likely to cause blowout if you use tools that are clean and sharp, and you carefully consider the direction you approach the cut with your tool.
Also keep in mind that some species, such as cedar and oak, splinter more easily than others, and so deserve extra caution.
Improper measurements
This is a mistake so obvious that no one thinks they can possibly make it. Until you try to put together a cabinet and everything is just a little bit off.
Nobody intends a mix-up when measuring the wood. Often it happens when you forget to account for the kerf (more on that below), don’t hold the blade at the correct vertical angle, or use a dull blade.
It can happen if you cut pieces on different sides of the pencil mark! When you mark the wood, place an “X” on the side you want the kerf to cut away. Even using a dull pencil that leaves a larger mark can add uncertainty to your measurements. Make sure your pencil is sharp or use a marking knife instead.
Not acclimating the wood can also result in mismeasured wood. Wood will naturally contract and expand, which impacts its dimensions. Giving the wood the time it needs to acclimate before measuring it for use will help keep your pieces in the right proportion.
But really, the most common reason for improper measurements is simply not being careful. The old cliche “measure twice, cut once” should be every woodworker’s mantra.
Forgetting the kerf
Kerf is the width of the cut created by the saw blade. It's not simply the width of the saw blade. Not holding the blade at a consistent angle or allowing any wobble of the blade all impact how much material is removed.
When all your boards seem a tiny bit off, then you're probably not accounting for the kerf when you cut. The simplest way to account for the kerf is to always cut on the same side of line. Mark the right side to cut and then align the correct edge of the blade to it.
You can also start with a small, partial cut to measure the kerf on a board. With that information, you can confirm or adjust each cut as needed to get the right dimensions.
The finer the woodwork, the greater the impact of overlooking the kerf.
Not using the correct tool
Tools can get expensive. You might not be ready to invest in a new specialty tool for a new project. Yet, using the wrong tool for the job invites all sorts of mistakes you might not be able to correct later. Even using a planer when the job calls for a sander can mean the wood is now misaligned.
Don't eyeball or guess when there's a tool that can give you firm or accurate information. Use a level to make sure the pieces are straight. Use a moisture meter to make sure the wood is at the right moisture content.
Learn about the wood species you're using and what tools, including saw blade or router sizes, will work best for it. Then use those sizes.
Invest in the tools you'll use often. When you're trying something new that requires a tool you don't have, look into renting a quality version of the tool. Renting tools is a great way to test out specialty tools so that you’ll be able to invest in the right, high-quality tool.
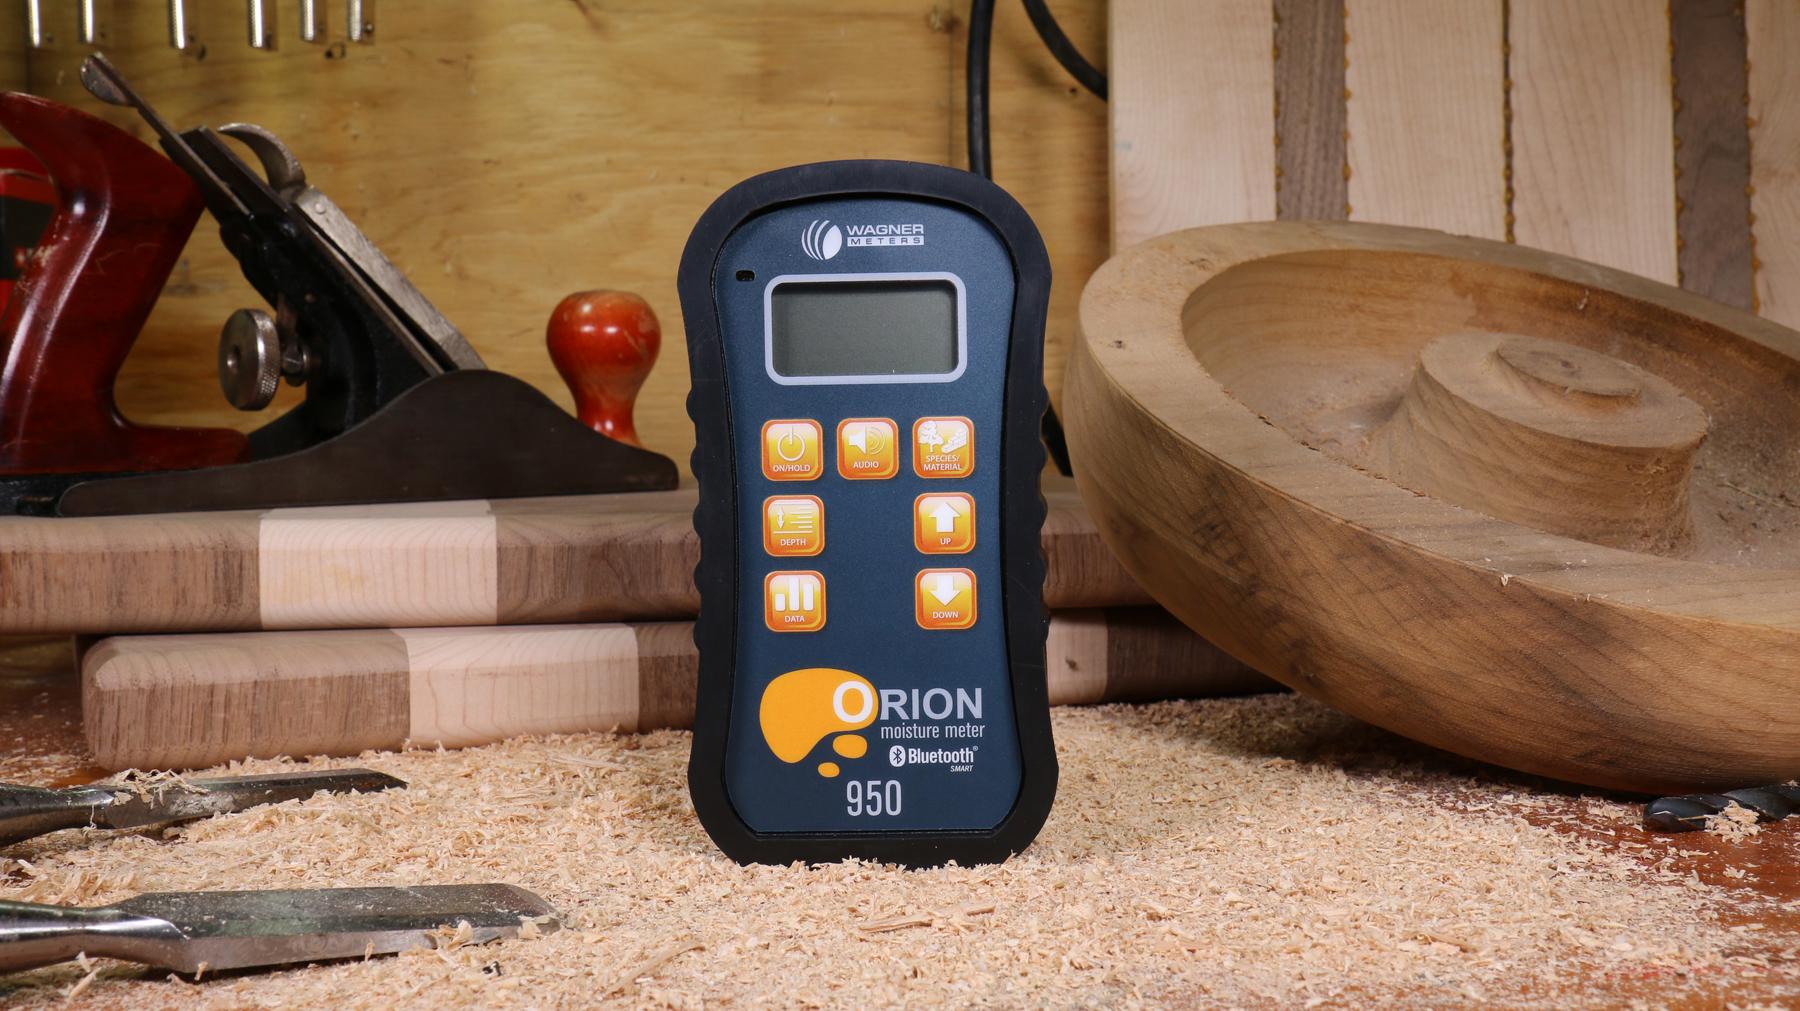
A wood moisture meter Is a critical tool
If you make any of these common mistakes, there is a good chance you can resolve them as you work. That doesn’t mean it won’t be a headache. If you have to replace a board, your project may come to a grinding halt until you can find the right board. You might not have the flexibility to replace the piece, especially if it’s a piece of fine woodworking.
But in most cases, you do have options to help mitigate the mistake during the production process. Not so with moisture.
Excess moisture in wood is a mistake that often doesn't show up until after you finished the piece and it's in someone's home. Cabinet doors or dresser drawers could become misshapen if the wood you used wasn't properly acclimated.
The result can be more than defacing the piece, making it look ugly. Drawers and doors can stop fitting. Legs can become uneven, making a piece wobbly. In short, working with wood that's holding excess moisture can eventually make the final product unusable.
The mistake is not measuring the moisture content of the wood before you begin working with it. A wood moisture meter tells you the moisture content. Guessing the wood is dry enough because it's been sitting around for a while often leads to nasty surprises.
The air temperature and relative humidity of the in-service location are the key factors in determining the proper moisture content range for the wood. For an HVAC-controlled indoor space, that usually means getting the moisture content of the wood between six and eight percent.
However, this may not be the goal range for areas with more extreme climates. If the piece is intended to stay outside, then you need to account for the variations in ambient conditions. Those changes will affect the wood.
A reliable wood moisture meter takes the guesswork out of it. Once you know the target moisture content range for the in-use location, you can use a high-quality moisture meter to verify the wood is in this range. Some wood moisture meters include a function that will even calculate what an area's target moisture content range should be. The best – the only – way to rectify excess moisture issues is to avoid them before you begin working.
Start strong to finish strong
Sometimes mistakes happen, especially when working with wood. Forming good habits and using the right tools will help you avoid these costly mistakes. There’s a craftsmanship to woodworking; it’s why you work with wood in the first place. Don’t let these easily avoidable woodworking mistakes ruin your project.

Source: Jason Wright has more than 30 years of flooring industry experience with particular specialization in hardwood floor products and installation. He brings a wealth of experience from starting new companies to supporting the flooring industry within the wholesale and retail sectors. Contact him by email at [email protected] or for more information call 800-505-1406 or visit WagnerMeters.com.


Have something to say? Share your thoughts with us in the comments below.