"Why am I still getting swirl marks on my workpiece?"
It’s not a simple answer, but going through the below steps should get you to the swirl-free finish you are hoping to accomplish.
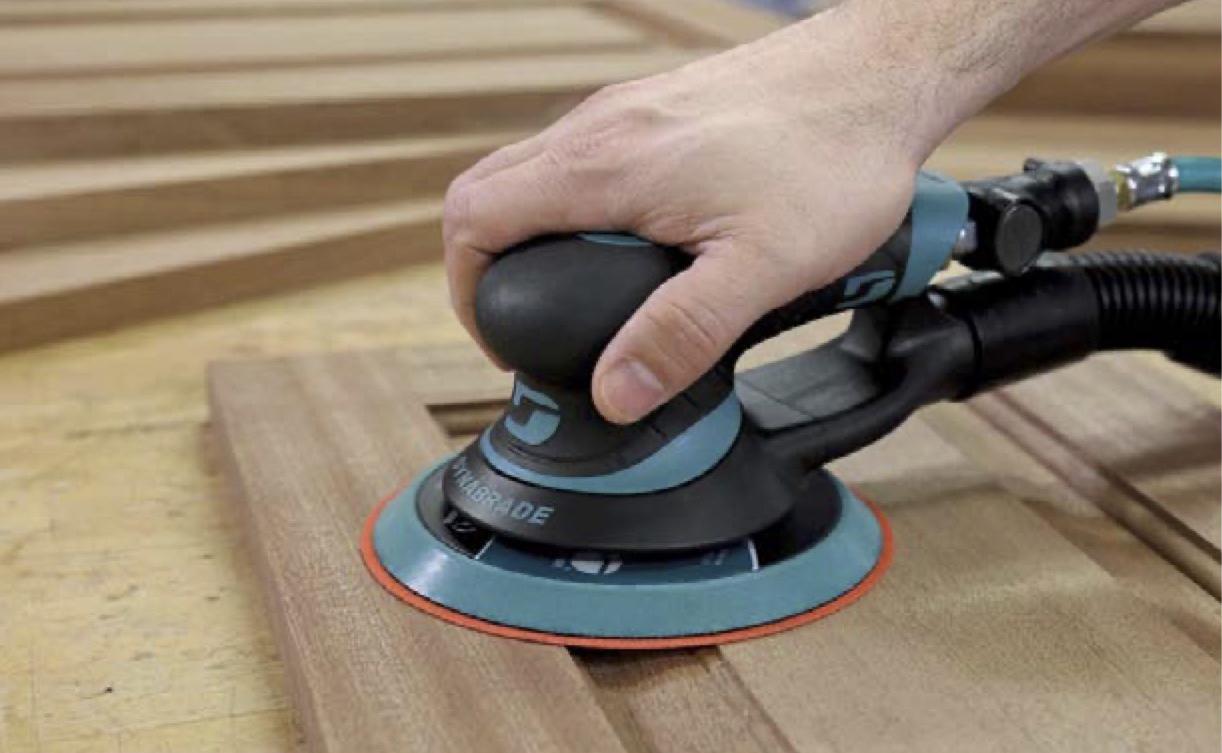
Start with the sander
Random orbital sanders are designed as finishing sanders. To achieve the best results, use the sander as a "finishing sander". Do not exert a heavy downward force on the sander. Instead, apply enough downward force to keep the backup pad and abrasive flat on the surface while still allowing the backup pad to orbit freely over the surface.
Remember – let the sander do the work.
Always match the sander to your work. For an aggressive and faster cut rate use a sander with a 3/8-inch diameter orbit. For a moderate cut rate use a 3/16-inch diameter orbit, and for the lightest cut rate and the finest in finish sanding use a 3/32-inch diameter orbit. Excellent results can be accomplished by selecting the correct sanding action, the correct grit abrasive, and the correct sequence of abrasive on the sander.
Check the orbit diameter that is being used for the application. A 3/32-inch orbit would be preferable when used on a softer wood that has a more porous texture. The smaller orbit helps to close the pores and allows the wood to take stain and paint better. Otherwise, a 3/16-inch orbit is the most used on surfaces.
Is your sander is getting 90 PSIG (6.2 bars)? Check the air pressure at the tool while it is running.
Obstructions, the length of the hose, and other obstacles could prevent the proper pressure from reaching your tool.
Confirm that the tool is running at the rated "free speed" RPM. On average, a 10,000 rpm non-vacuum sander will run at 9,500 rpm; a 12,000 rpm non-vacuum sander will run at 11,500 rpm. A vacuum sander normally runs slightly slower.
Note: Removing the sanding residue from the work surface with a central or self-generated vacuum sander will improve the finish. It will also help to extend the life of the abrasive.
Inspect the sanding pad
Inspect the balancer bearing (pad bearing). Remove the backup pad and rotate the balancer bearing shaft while holding the counterbalance stationary. The balancer shaft should turn freely.
Also inspect the face of the sanding pad. The pad must be flat and smooth, without any defects.
Abrasive quality a must
Use a good quality abrasive. An abrasive product that has an additive to help prevent loading of the sanding disc will provide a superior finish than an abrasive that has no additive.
When sanding particularly sensitive surfaces, including acrylic solid surfaces, it is best to use a film-backed abrasive sanding disc. Film backing forces the abrasive to lie flat on the surface. The grain is then presented to the sanding surface in a very uniform manner.
6 sanding basics
Remember, each application is different. There is no "one size fits all" solution that will work. But here are six steps that will help ensure a quality finish.
1. Always start the sander on the surface and stop the sander off the surface.
2. While you are sanding, keep the sander and pad flat on the surface. Do not exert too much downward force, just apply enough force to keep the backup pad and abrasive flat on the surface to allow the backup pad to freely orbit over the surface.
3. Follow a pattern while sanding. Many professionals suggest the "North, South, East, West" pattern where you overlap each pass 1/4 the diameter of the backup pad and abrasive. This will ensure that the previous scratches are removed and that a uniform finish is achieved.
4. Frequently inspect the abrasive for any tears, folds, or build-up. Before proceeding to the next sanding step, always inspect the abrasive.
5. If you do notice any abrasive defects, reattach a new abrasive with the same grit and sand the work surface again before proceeding to the next step.
6. Always clear away sanding dust and abrasive debris before progressing to the next sanding step with a finer "grit" abrasive.
Source: Dynabrade. For information call 800-828-7333 or visit Dynabrade.com.


Have something to say? Share your thoughts with us in the comments below.