
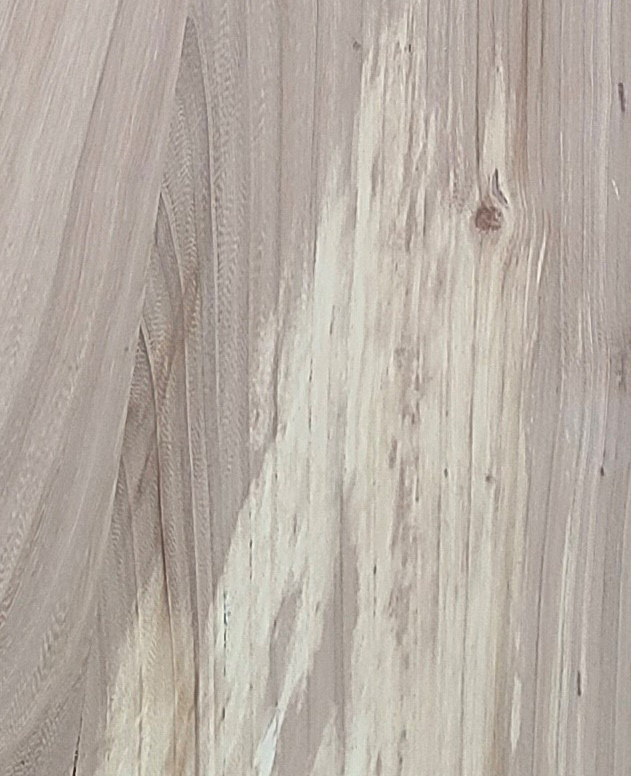
Q: Every so often, I see whiteish or yellowish streaks in an otherwise dark-colored lumber. Most of the time we do not see them until after planning, that is, the surface color is good. They look like really cool, character marks, but customers do not like them. Can you tell me what is going on?
A: We see these light-colored streaks or regions in many different species, including elm, white oak, walnut, and black locust. In light-colored woods, like maple, we see brown or gray regions. Although there are several different causes, the underlying principle is that this wood did not oxidize as expected. This lack of “normal” oxidation develops color differences. Lack of the desired color can occur because of what happens in the tree, log or lumber after sawing. Note: This color oxidation occurs when there is fairly wet wood. Here are three main causes.
Cause #1: When we are air drying, the wood is drying closely, so oxygen from the air and the oxidation process can occur slowly but thoroughly. The first wood to oxidize is on the outside of the lumber. However, after only a few weeks of air drying, if the lumber is moved into the kiln, the faster drying in the kiln at higher temperatures results in limited oxidation and a lighter color in the core. The solution is to always air dry thoroughly before kiln drying.
Cause #2: When the tree is growing it can be injured — ice or wind storms, humans or insects and animals. The tree, not having antibodies like we humans do, reacts by isolating the injured area, closing it off to nutrients. This closing off also slows drying and oxidation during drying. Sometimes blue stain fungi enter the fresh injuring and discolor the wood gray. Sometimes the isolated wood turns into brown heartwood. There is nothing we can do about this beautiful characteristic.
Cause #3: We also see this effect in lumber from the butt log that is infected with anaerobic bacteria, when the tree is alive and growing. These bacteria increase the initial moisture and inhibit oxygen and moisture movement. The infected wood will oxidize differently, giving us a different color. These bacteria often impart a peculiar odor that can be rather unpleasant, wet or dry. Both the odor and splitting that runs parallel to the growth rings (called shake or shelling), rather than across, are signs that we have bacteria and should avoid using that piece of lumber.
Q: We are using staples, but I have no idea on their strength to resist pulling out. Please shed some light on staples.
A: The strength of staples has not been well studied. However, the US Forest Products Lab recommends treating them as a double-nail, and using the nail formula.
Penetration of the staple for stapling upholstery would be the depth into the wood. When stapling two pieces of wood together, penetration is the depth into the piece that has the point of the nail or staple; the first or top piece does not count.
To begin, consider a small 3d (3 penny) box nail. This is a shiny, smooth-surface nail with a diameter of 0.076” (or a smidge under 5/64”, or a tad bigger than 1/16” diameter). Pretty small. This nail is straight. What holds the nail in the wood is the surface area of the nail that is in the wood. Increase the nail area by 10% (increase the diameter by 10% or increase the depth of penetration by 10%) and the holding power increases by 10%.
This nail, driven into a lightweight wood like white pine to a depth of 3/8”, will have a withdrawal strength of 22 pounds. Driven into a heavier wood like oak or sugar maple, the holding power is 66 pounds. Wood density where the point of the nail or staple has penetrated is a key component in the strength. Do not ignore this effect. Another way to look at density is that pine needs three times more nails or staples than oak, all else being equal, to get the same strength.
Now consider that we have a flat staple, obviously with two legs. To get the same withdrawal power as the 3d nail driven 3/8” deep, we need the same surface area, front and back of the two legs, at the same 3/8” penetration. Recalling geometry from high school, which I thought I would never use in the real world, the staple legs would have to be about 1/16” wide. Because a round shape is more efficient and usually stronger, round staples have a preference for some jobs.
There are other factors that apply to nails and staples. The wood must be dry and kept dry with minimal moisture variation to avoid loosening; the nail or staple cannot split the wood which dramatically lowers holding power; roughness on the surface increases holding power; glue or resin on the surface increases holding power.
In my experience, I see the depth of penetration of the point of the staple as a common shortcoming, with skinny staples being close behind. These “short and skinny” operations end up using twice as many staples than if they used a larger staple (more surface area) with deeper penetration. In our previous calculations with 3/8” penetration, if a shop used 1/2” penetration, they would go from 22 pounds to 30 pounds.


Have something to say? Share your thoughts with us in the comments below.