We were asked to quote and build a Thomas Jefferson Revolving Book Stand, by a parent at The Ambrose School, as a class project for the school’s annual auction. As luck would have it, both my son’s attend Ambrose, and my wife is a 4th grade teacher there, so it was a given that I would volunteer to build the project.
There is very little information about the original book stand, but from what I was able to glean from the Monticello website, Thomas Jefferson had it built in 1810 at the joinery, which was the workshop at Monticello, out of solid walnut. It was designed to swivel 360 degrees and hold five books, one on each side and one on the top. Each of the sides and the top open outwards and are able to rest at several different angles.
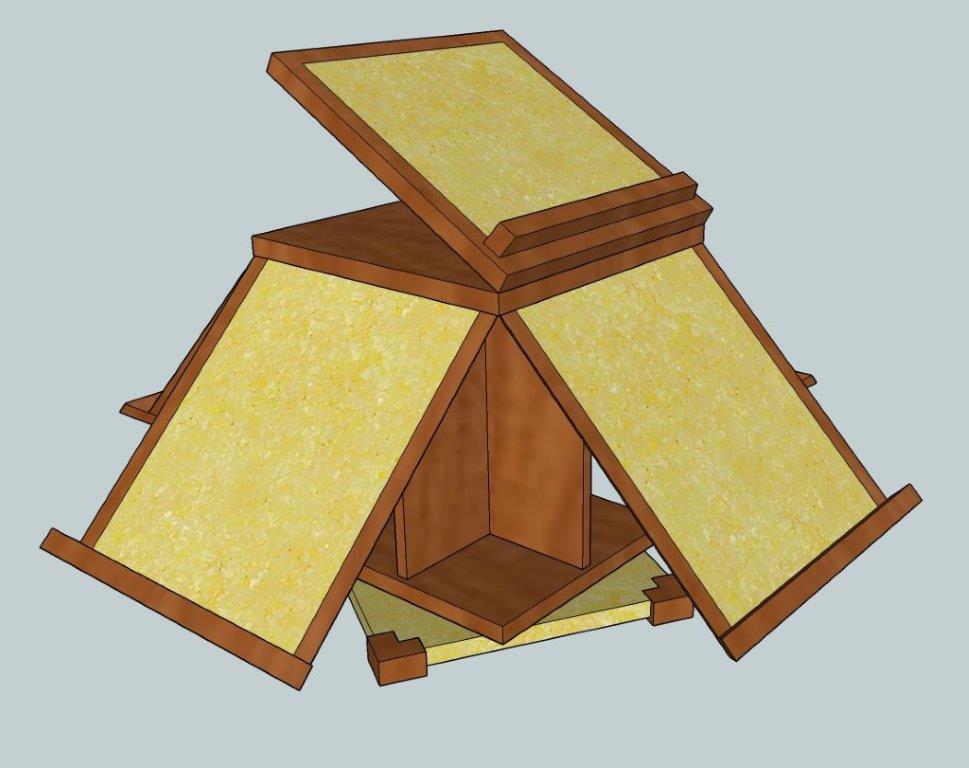
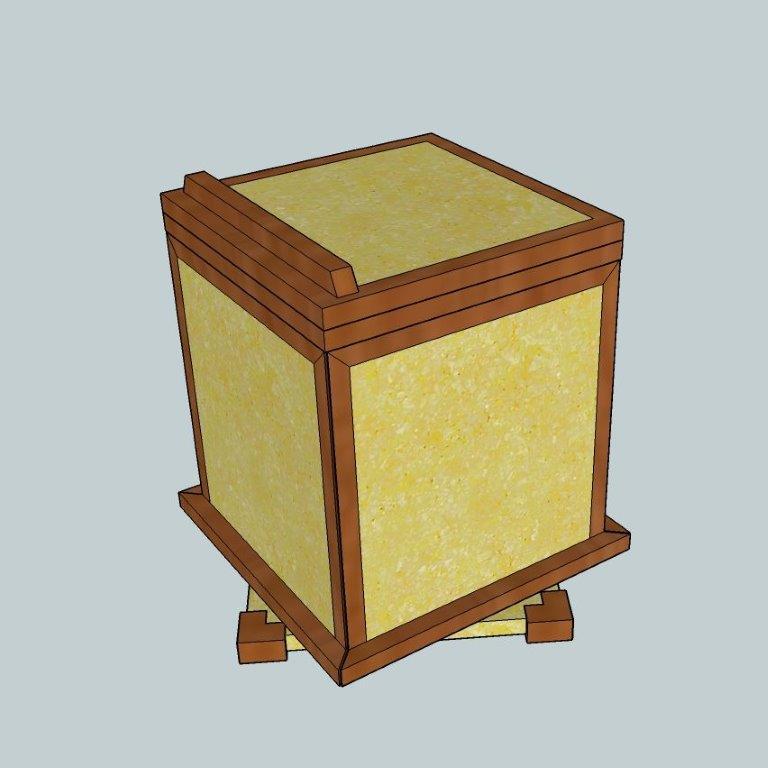
I began by creating a 3d rendering of the book stand, showing both the open and closed positions. Designing the scale of the piece was fairly simple, since all the dimensions were pretty much based on the size of a trade paperback or hardcover book. The overall height of the piece is 15.75″. Each side wing measures 13.75″ wide and 12.75″ tall, with a platform for the book measuring 12″ wide and 12″ tall. The top platform has a 12″ wide and 11″ tall space for a book.
With all the designing worked out in SketchUp, it was time to begin construction.
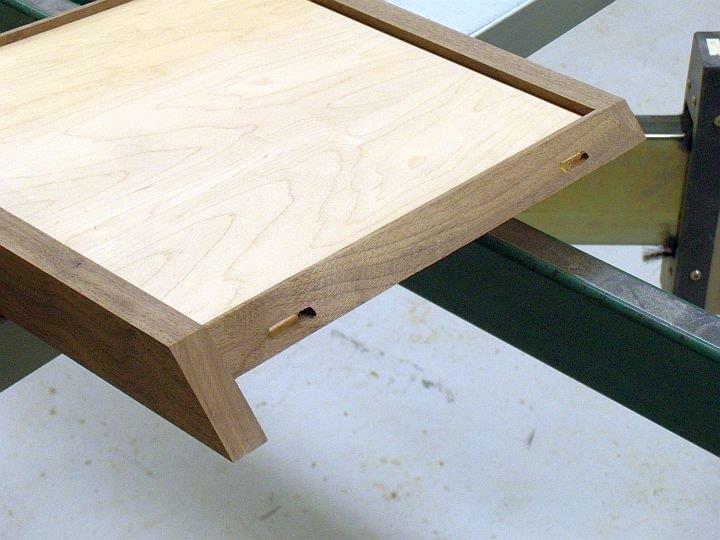
I began by constructing the four book wings. Each wing would consist of a 1/2″ maple ply field framed by .75″ x .75″ walnut trim on the top and sides and a 1.5″ x .75″ walnut trim on the bottom. The walnut trim on the sides and bottom would be mitered along the entire length to allow the front edge of each side to meet and nest together when in the closed position.
With all the parts cut to length on the chop saw, we used the Festool Domino to cut two mortises on each side. The mortises, once paired with a loose tenon, made aligning the trim along the top surface a breeze, and also ensures that the assembly stays solid for the next 200 years, just like the original.
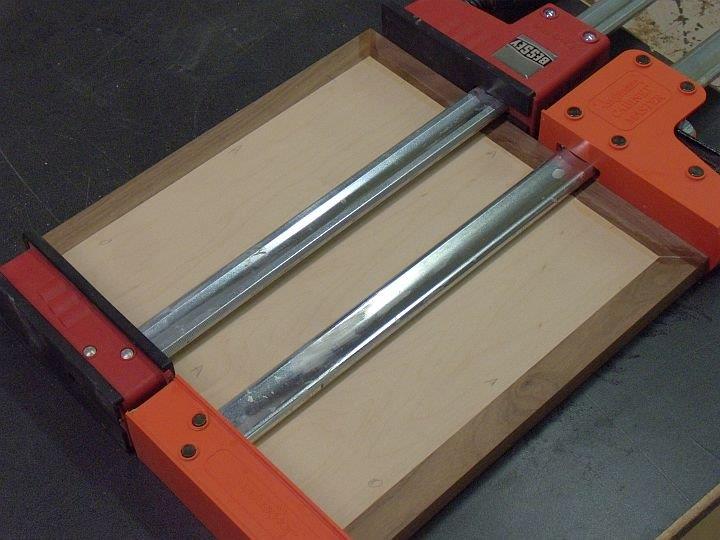
We tackled the framing of the maple ply field in stages. First, we mitered and attached the sides. After that, we cut and fit the top trim. At this point, we sanded the front and back faces and the edges, which was a necessary step to complete before we attached the bottom trim, since the bottom trim would add a lip that would make the sanding process more difficult.
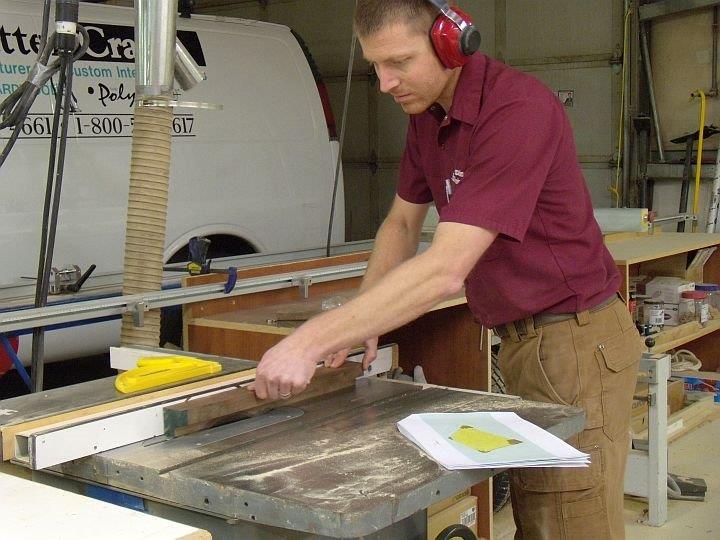
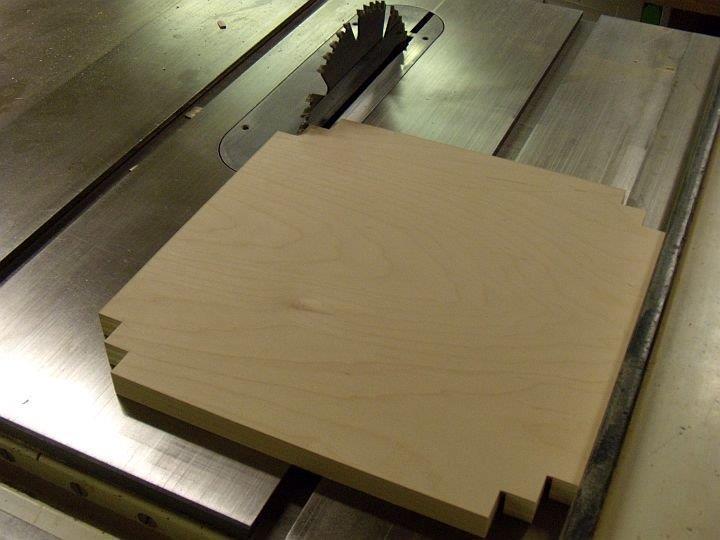
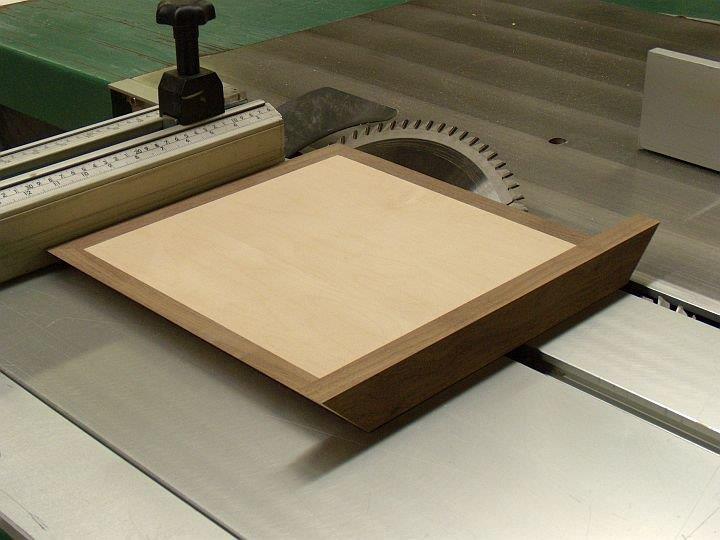
After we sanded the faces, we attached the bottom trim, which is the rest that each book will sit on. Once the glue had dried, we set our table saw blade on a 45 degree angle and cut each edge of all four sides.
One issue with custom furniture is that, even with thorough planning and forethought, it’s possible to overlook something and run into a predicament that has to be dealt with on the fly. We had one such instance arise on this project. After cutting the 45 degree angle to each edge of the cube’s sides, we realized that the angle cut sliced right through the mortise that we made in the previous steps, exposing the open space and the dried glue, which was not a look we were going for.
But, rather than shaking our fists and screaming at the top of our lungs, we acted like mature, well-behaved woodworkers, took a deep breath to clear our minds, and debated what the best next step would be. The direction we decided to take was to make a series of cuts along each edge that would accept a maple trim piece. Once the glue had cured, we trimmed the overhanging ends of the maple on the edge sander and then ran each 45 degree side back through the table saw, repeating the cuts we had made a few steps earlier. The final product was exactly what we wanted, except now we had a nice maple trim detail running the length of each edge.
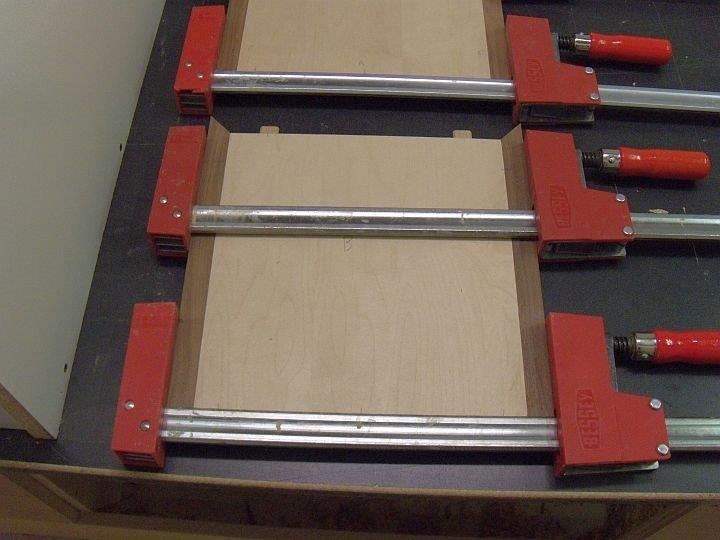
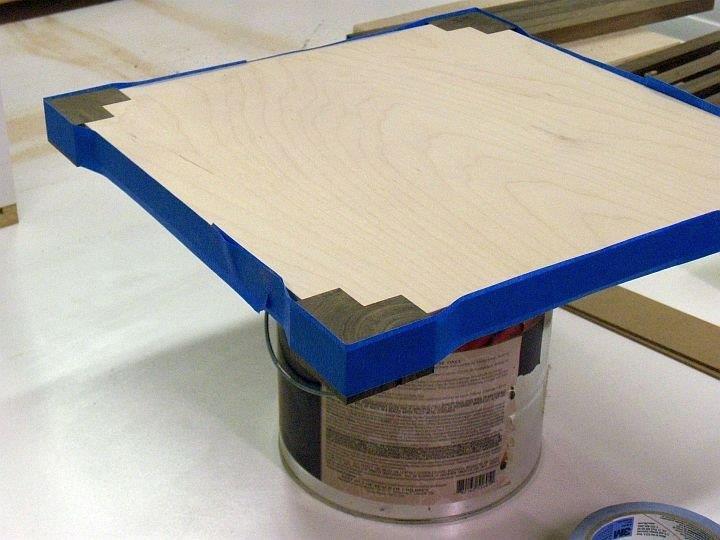
After we completed work on the four sides, we turned our attention to the base. The base would be made up of a 3/4″ maple plywood field, with four walnut feet. The Walnut feet were in the shape of a small “L” and would fit into notches cut into each corner. We created those notches on the table saw and, with a series of cuts completed, we had the necessary material removed to accept the Walnut feet.
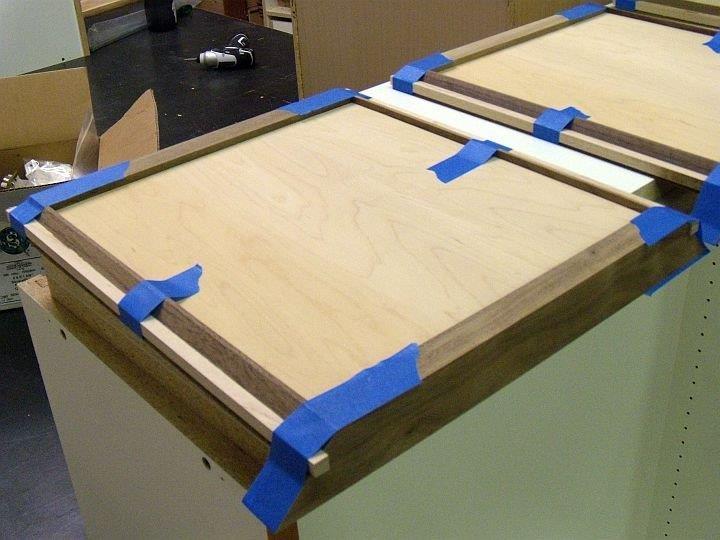
Often times, the easiest way to clamp small items, such as the corner feet, is to use blue painters tape. The tape holds the small pieces steady while the glue dries, which is all that is needed. The next morning we sanded the face and eased all the edges.
Stay tuned for the final half of the project!


Have something to say? Share your thoughts with us in the comments below.