I wanted to follow up on the Singer sewing machine project that I wrote about a few weeks back. That project is now complete. The Singer sewing machine has been delivered back to its owner and she is most happy.
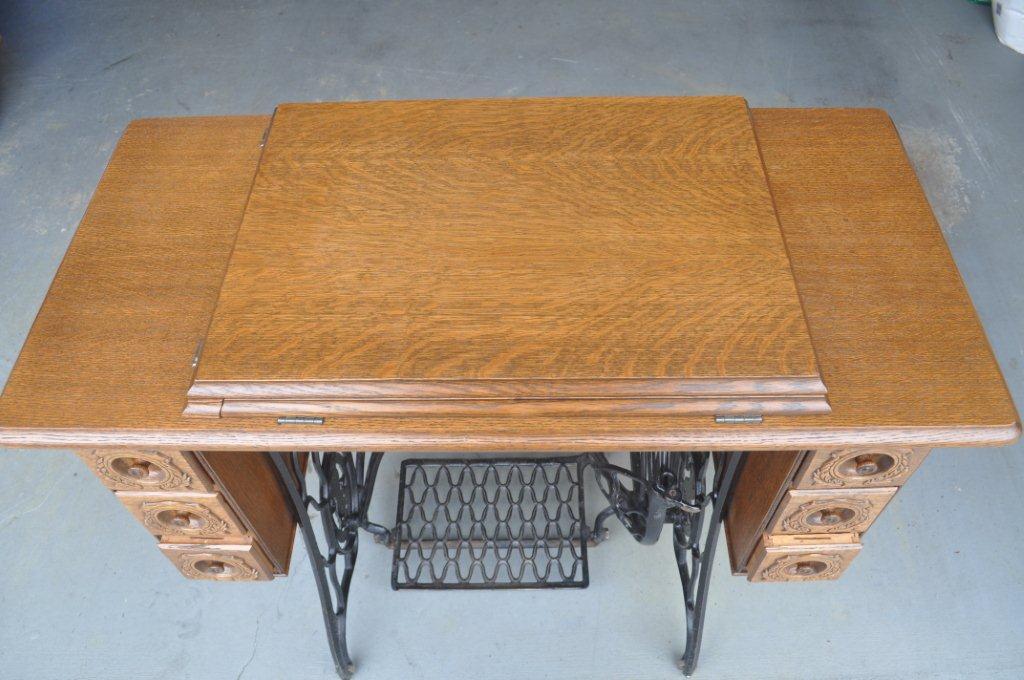
Now that all of that is done and I have looked at the series of photographs I took during reassembly, I can no longer help myself. I need to share those photos with you. Take a look at the slide show below and see what I was able to accomplish.
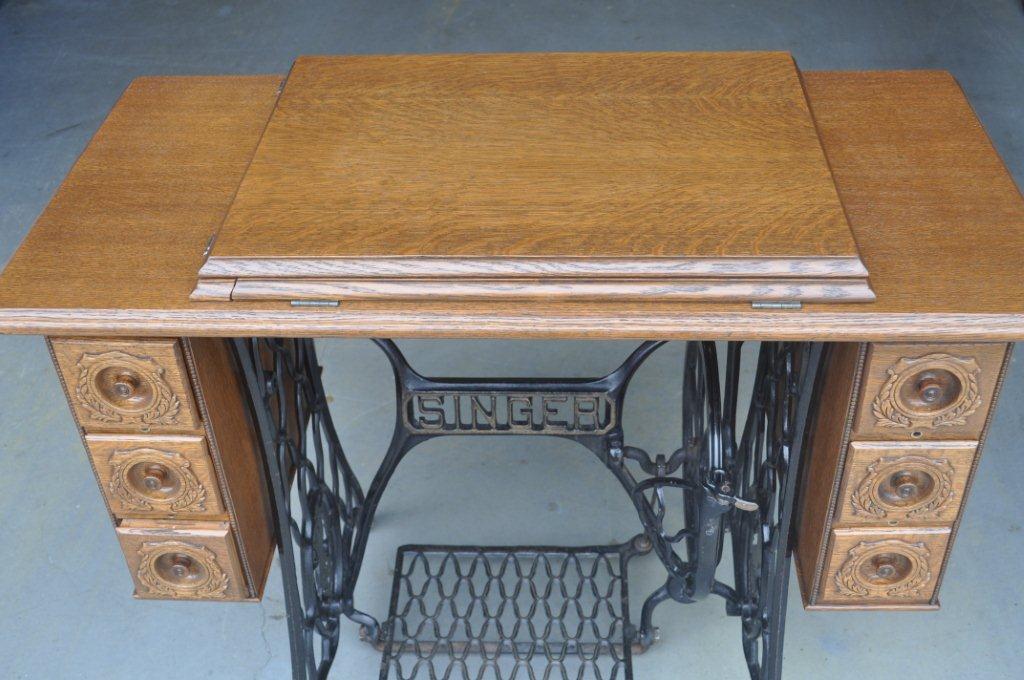
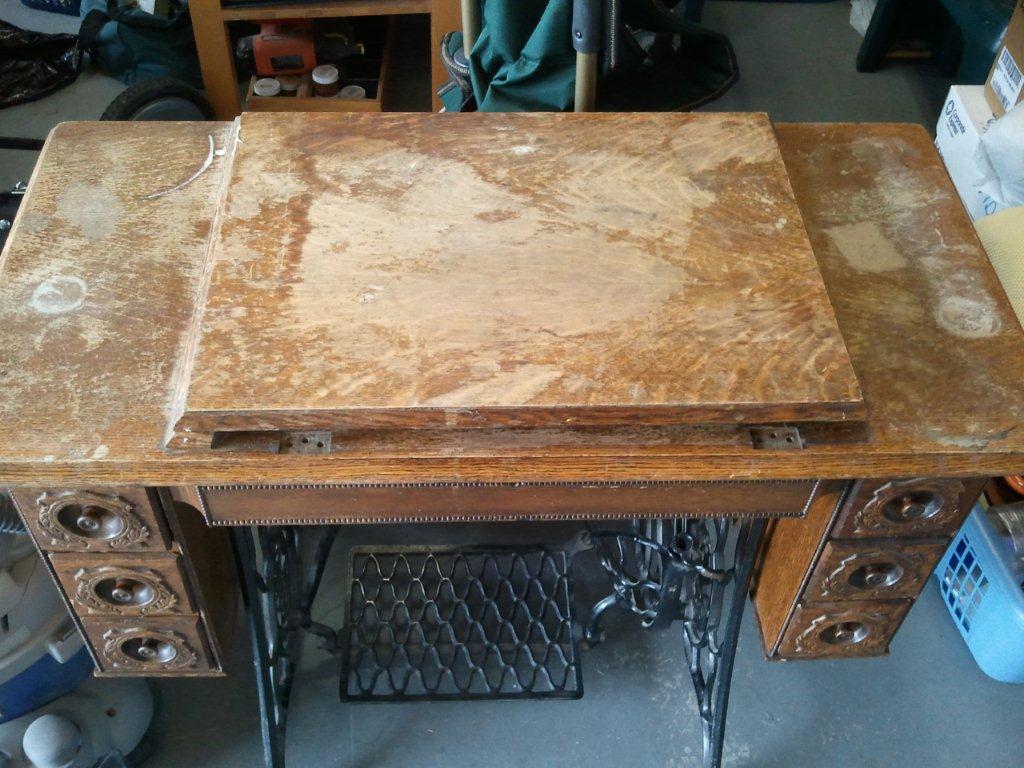
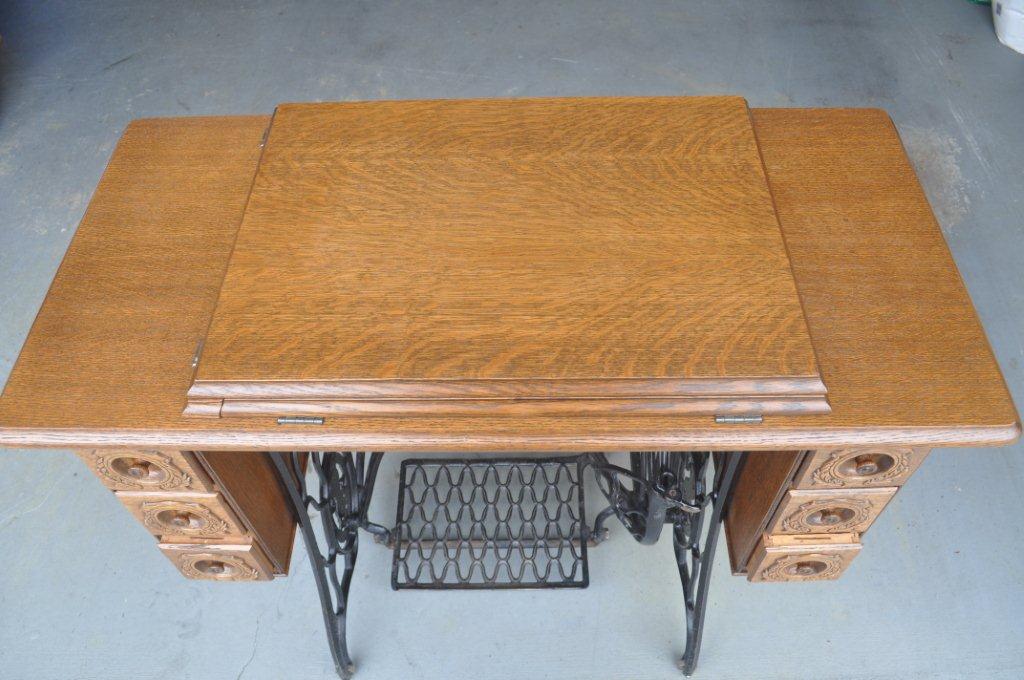
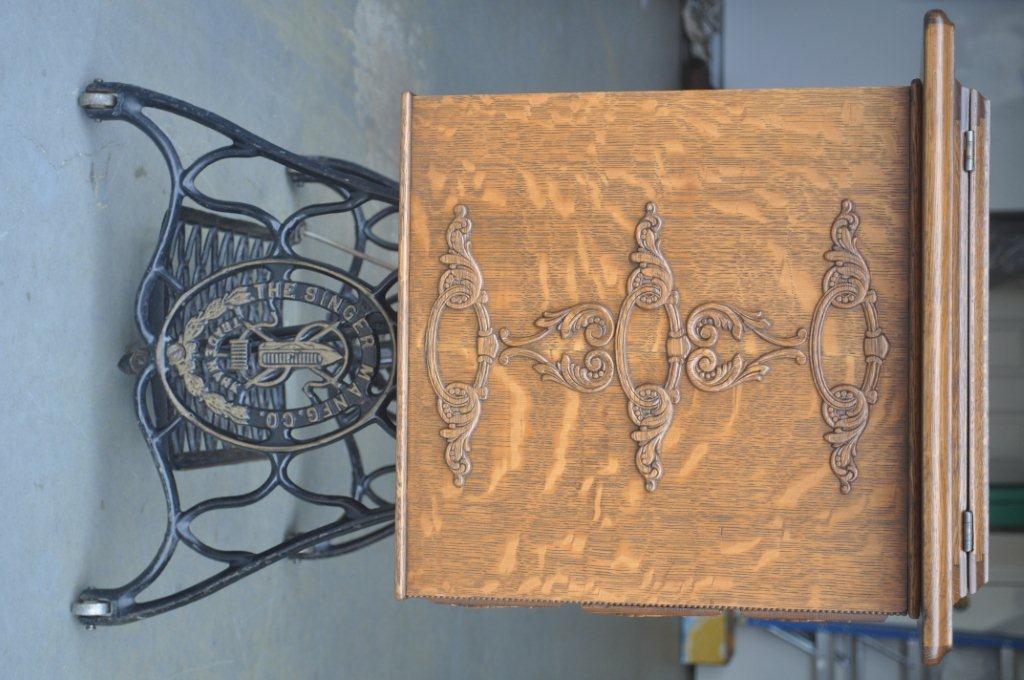
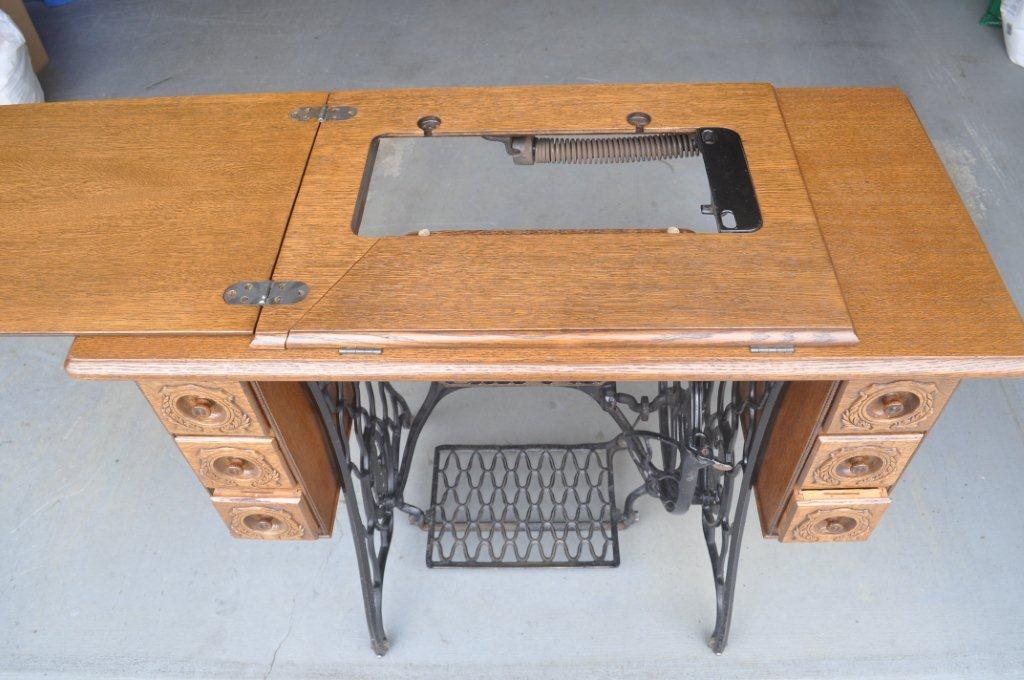
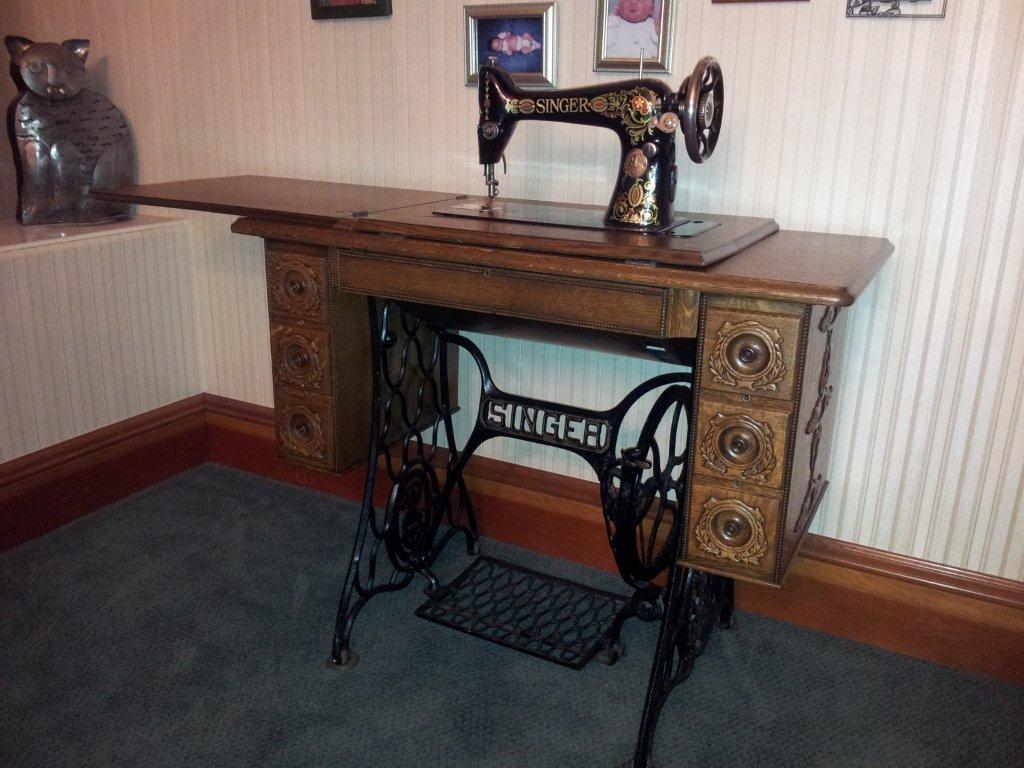
The first photo is what I started with and the rest are the end result. What a contrast!
There are a couple of loose ends that need to be tied up. First of all, the color application went very well. Dave applied a wipe stain followed by a toner to get things evened out. Then, a sanding sealer was applied. Knowing him as I do, I suspect that he used M.L. Campbell’s Krystal Sealer. After that, he applied a glaze to help give that rich “old” look. Then, DuraVar by the same manufacturer was applied. All in all, he was done in about 4 hours’ time.
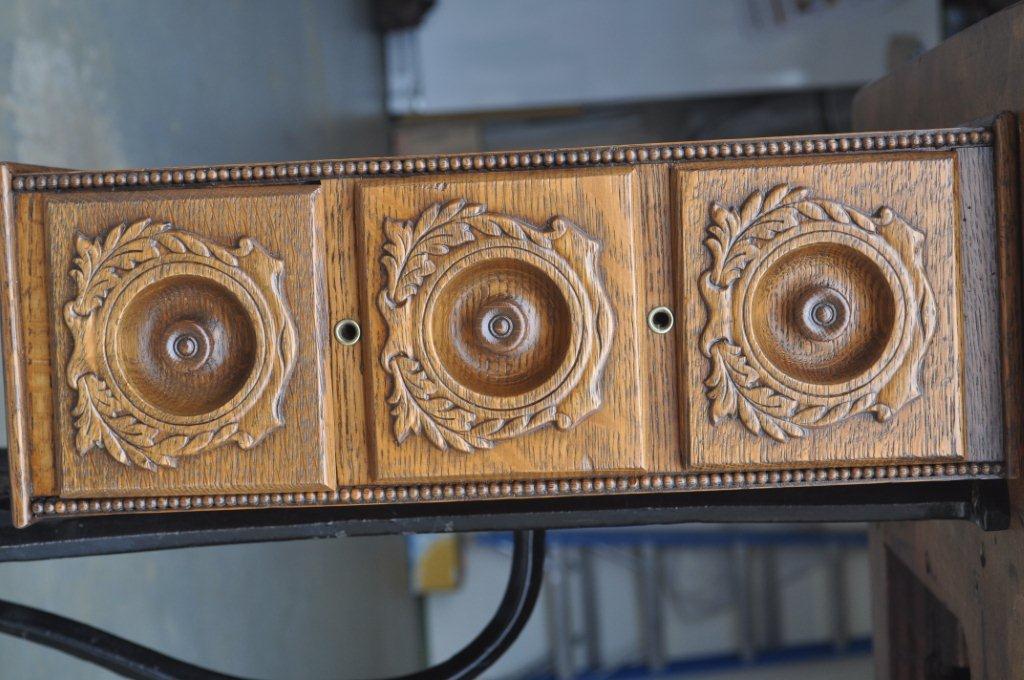
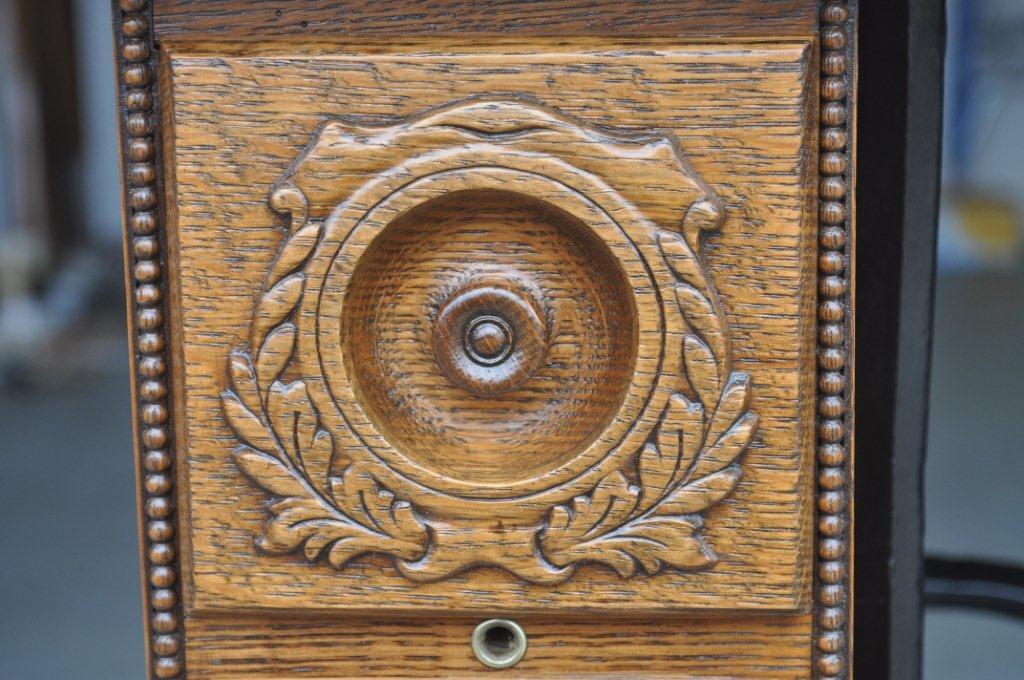
I had mentioned my concern about sanding around those beautiful appliques. Often, the sanding pattern is obvious. It’s really hard to get a good scratch pattern right up next to where the applique raises up. My idea was to use a fresh maroon Scotch-Brite pad and hope that it would get the job done. I am pleased to report that it did. There were no dark or light haloes around the appliques. Of course, the addition of a glaze helped to enhance the three dimensional effect of the applique.
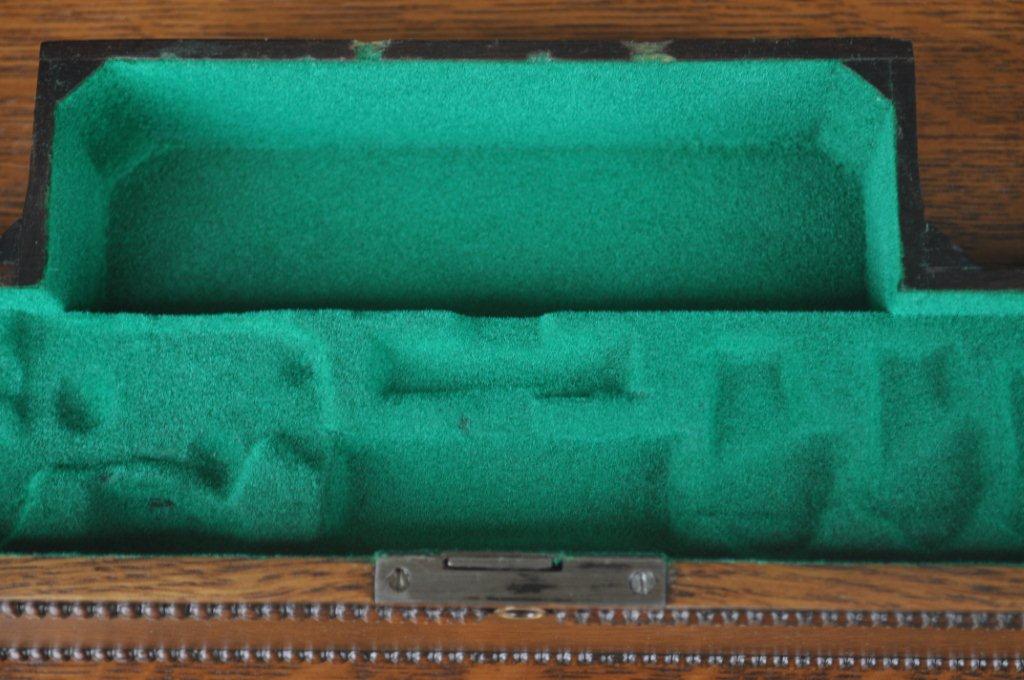
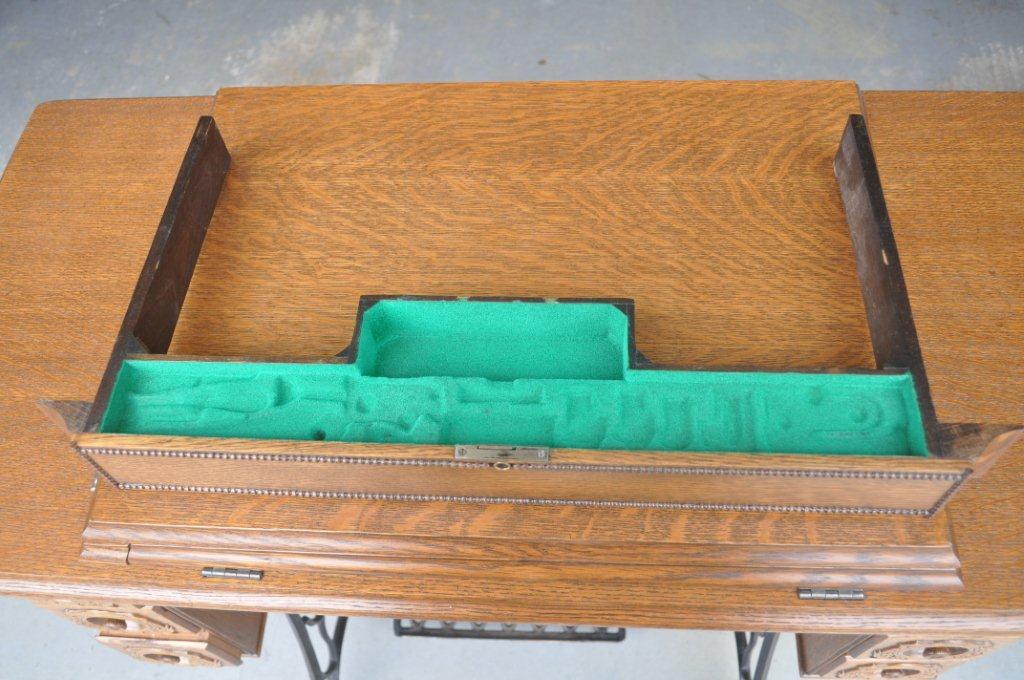
There are two photos that show, for lack of a better description, the pencil drawer. This is a drawer for storing all of the mechanical accessories that come with the machine. That drawer was originally flocked inside. Flocking was something that was put on to line the drawer and give the impression that the drawer is felt lined. However, if one were to do that with sheet fabric,in this application, it would be impossible to follow all of the shapes that have been cast into the drawer bottom. Plus, seams in the felt would show.
The inside of the drawer looked really bad when I got the project. 100 years of use had really taken its toll on that flocking. I knew that I needed to do something so I went on the internet and purchased a mini flocking kit from DonJer. It comes with three parts. First, there is a solvent-based glue that one brushes on. Then, one loads what must be described as felt dust into a device called a mini-flocker. One uses that tool to spray the dust onto the wet glue. Voila! In fact, it worked so well that the drawer looks better than new.
DonJer also supplies great directions and a special brush to apply the glue. Anyone can be an exceptional flocker with this kit!
I hope that you enjoy the photos. I know that Kate is very happy that her mom’s antique Singer now abides in her living room. Her husband, Chuck, had the machine refurbished by someone who specializes in these old machines. It, in itself, is gorgeous and Kate, the quilter supreme, will enjoy this machine and will remember her mom fondly whenever she uses it.
Mission accomplished!
Until next time…spray on!


Have something to say? Share your thoughts with us in the comments below.