Over the years we have received many inquiries, and several orders for, the veneered maple table, built for a client in 2009. We decided that if we were going to be building these tables on a semi-regular basis, we needed to streamline the construction process and work out some of the design hurdles that we faced with the first table.
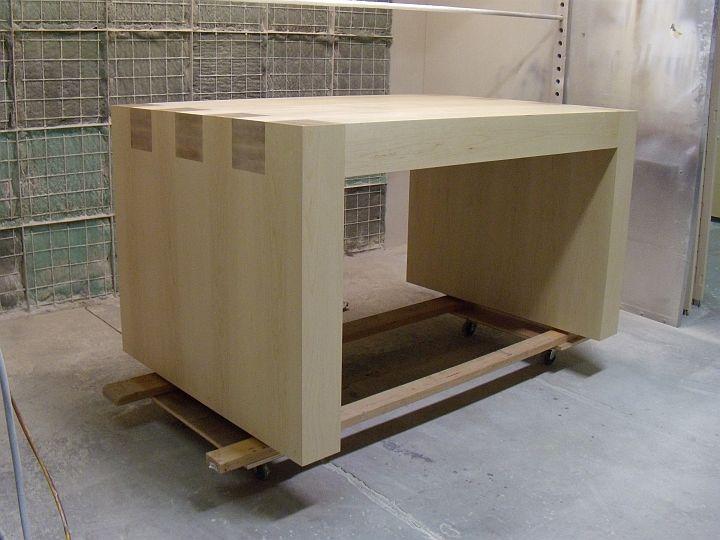
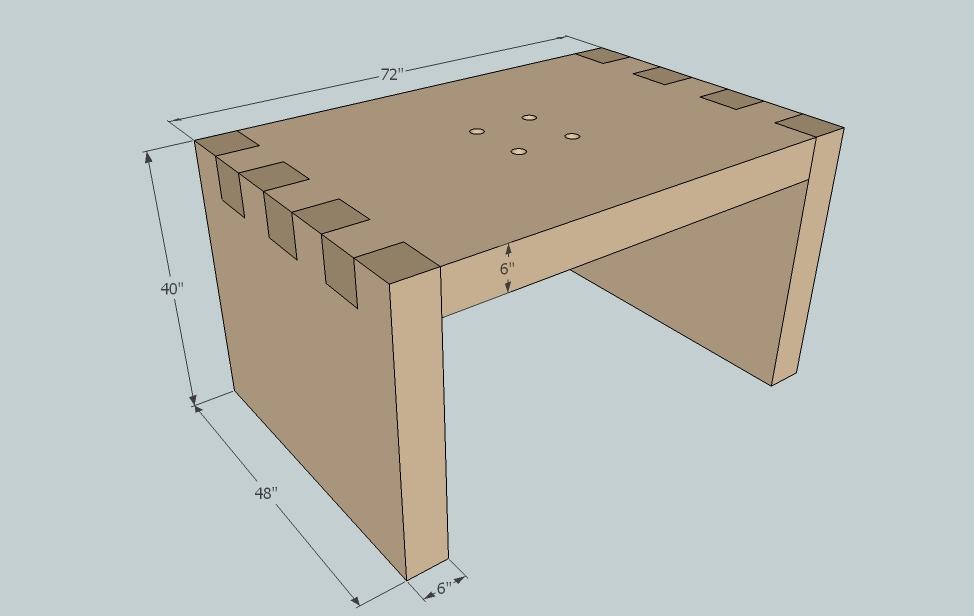
The first area in the production process that we identified as needing a change was the very foundation of the table itself, the 3″ thick top and legs. The 3″ thickness is achieved by constructing a torsion box, which is a honeycomb-inspired assembly that is lightweight, yet extremely stiff and strong.
On the first desk, we built the top and legs as rectangles, and then added the interlocking finger-joint blocking onto the ends of those assemblies in a series of tedious, imperfect, and time consuming glue-ups.
Our next area for improvement were the end grain maple caps. In previous iterations, we made the end grain 1″ thick, which was wholly unnecessary, since only the end of the cap is visible. The 1″ thick maple end caps made flush trimming more difficult and more prone to user error. We decided to skinny the end cap to 1/2″ thick, and while this may not sound like much of a difference, the thinner end grain allows for more accurate and easier flush trimming and more yield from the maple block we glued up.
Both these issues were resolved by cutting out the torsion box skins on a CNC machine. The CNC machine not only cut dados for our 3/4″ baltic birch framework to sit within, but it also integrated the box joint directly into the initial torsion box assembly. The accuracy of the CNC machine allowed us to construct huge box joints that fit like a glove, with an almost perfect fit right from the start, eliminating the need for hours of tedious sanding and scraping.
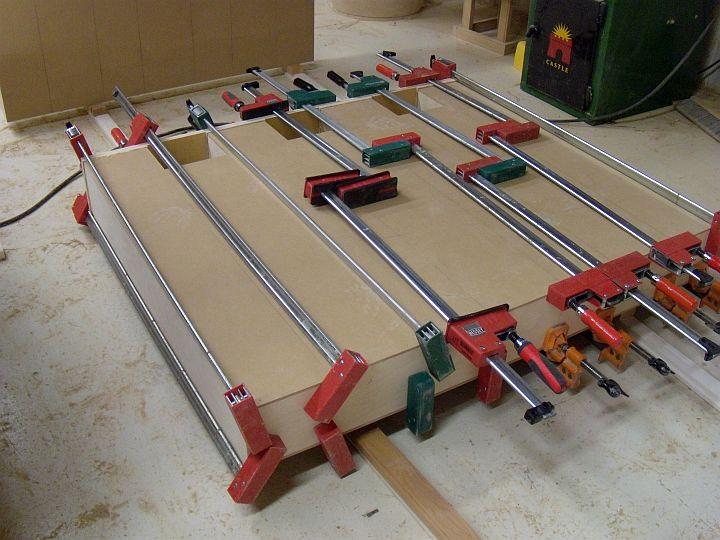
On the first table we built we used PSA veneer, simply because we were inexperienced, and it was only the second time we ever used veneer on a piece of furniture and were still figuring out how it was normally done. As time progressed, and we researched the standard methods for applying veneer, we quickly purchased a 4×8 vacuum bag from www.veneersupplies.com, which was later replaced with a larger 5×12 bag, also from www.veneersupplies.com. Using Titebonds cold press veneer glue, we now vacuum press all our maple veneer onto the MDF torsion boxes, with wonderful results.
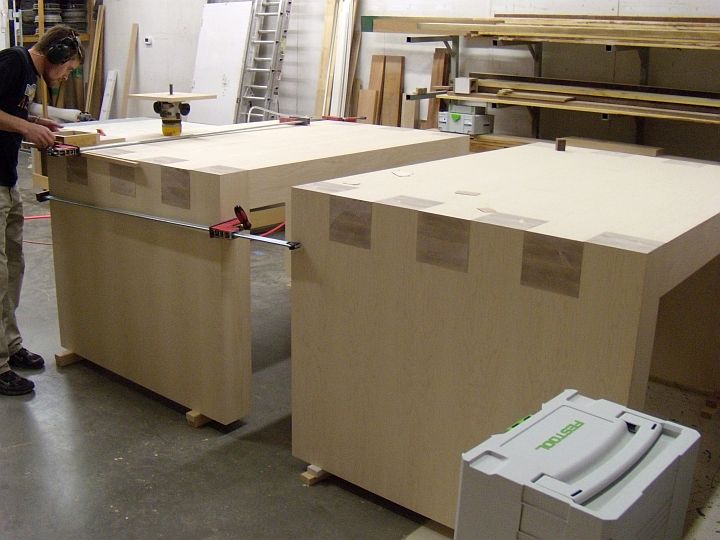
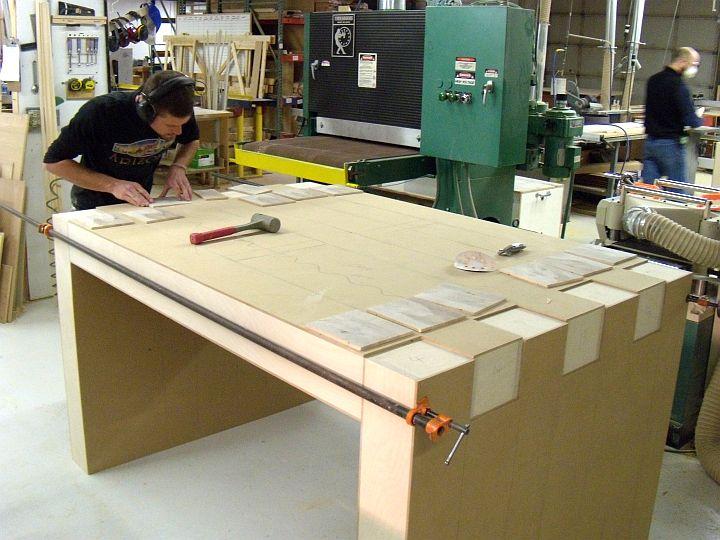
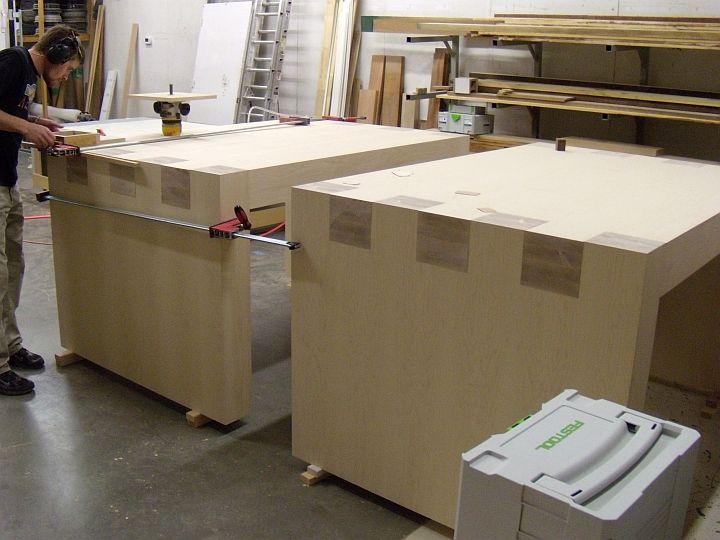
Once we have applied and trimmed the end grain caps and veneer to the top and legs, the pieces are ready to be assembled. If every detail comes together perfectly, then the end grain box joint and the veneer surface will line up to create a perfectly flush surface. But we live in the real world, so this almost never happens. Usually, because we want to ensure that the end grain is never shy of the veneer surface, we err on the safe side and make the end grain just a bit proud of the maple veneer. The end grain that is now proud needs to be sanded as flush as possible to the veneer without sanding through the veneer.
On the first table, we taped the border of the end grain with blue painters tape and sanded it flush to the veneer using a small belt sander or 80 grit paper on a random orbit sander. This step was the most difficult one in the construction process, requiring skill, concentration, finesse from the craftsman, and a little bit of luck. We knew that this step was the Achilles heel of the entire construction process. There were dozens of potential areas to sand through the veneer, and sanding through the veneer was near catastrophic. Our solution to this problem was to create a jig that rode on the surface of the surrounding veneer and, using a plunge router and a square bit, trim the top layer of end grain flush with the surface. After a bit of final sanding, an otherwise stressful and treacherous task was made much easier and more consistent.
The finishing process has stayed the same from the very beginning. We apply a coat of Sherwin-Williams sanding sealer and two coats of water-white Sherwin-Williams conversion varnish to achieve a bomb-proof finish.
In the end, the changes we made saved nearly 5 hours of labor, increased quality, and simplified the construction process exponentially. The material cost did increase over the previous table, since we now pay for 2 hours of design and CNC machine time, but the higher level of quality, and labor savings as a result of the CNC work, more than made up for the machine rental.
The table, and it’s box joint fingers, are more accurate, more repeatable, and faster and easier to create than ever before…even these huge 6″ square box joints.


Have something to say? Share your thoughts with us in the comments below.