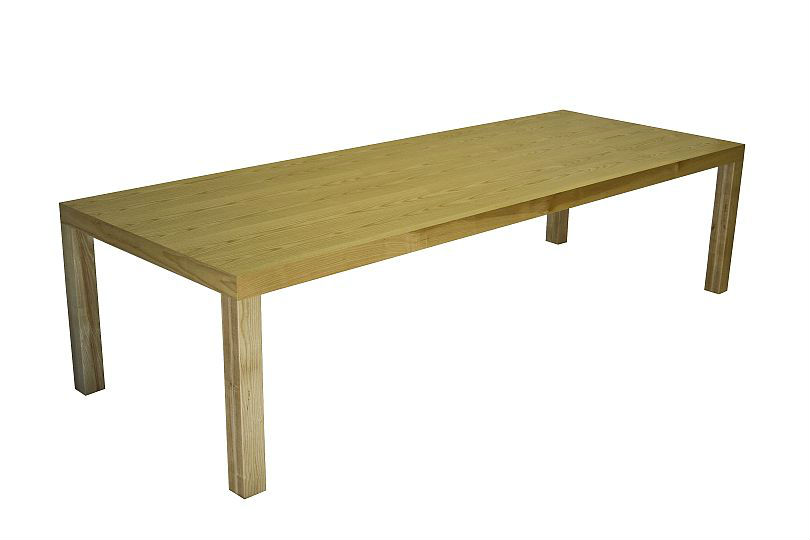
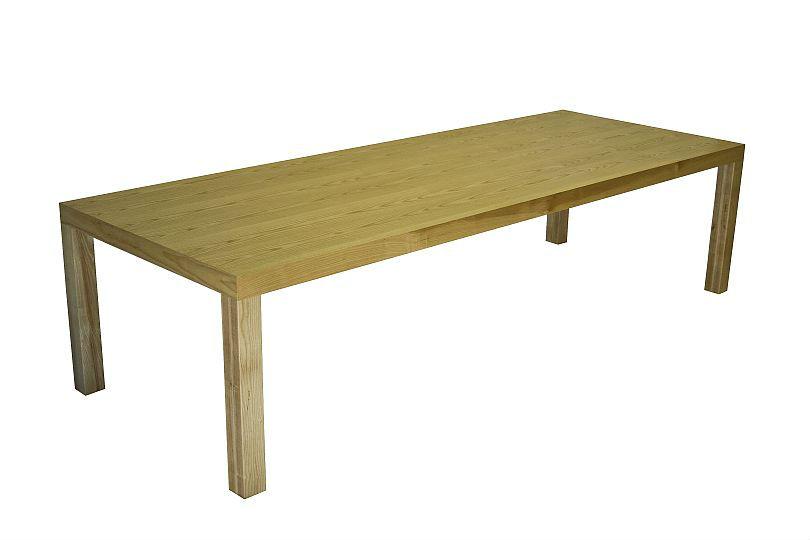
Welcome to the last installment outlining the closing steps of the large Ash wood dining table.
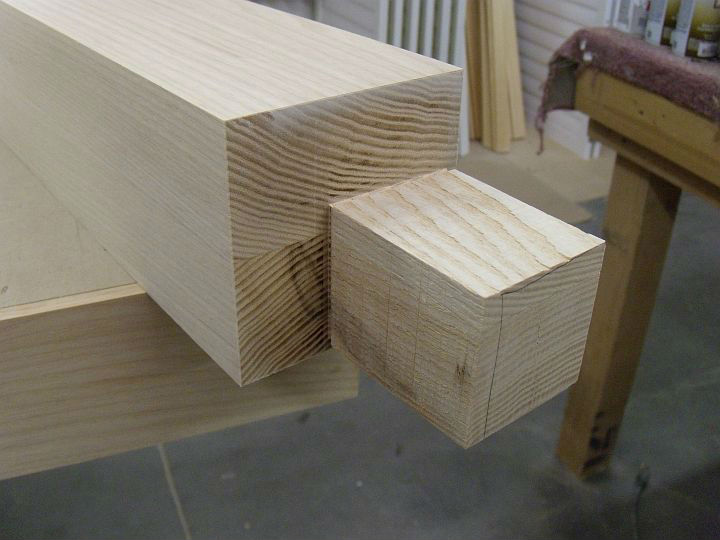
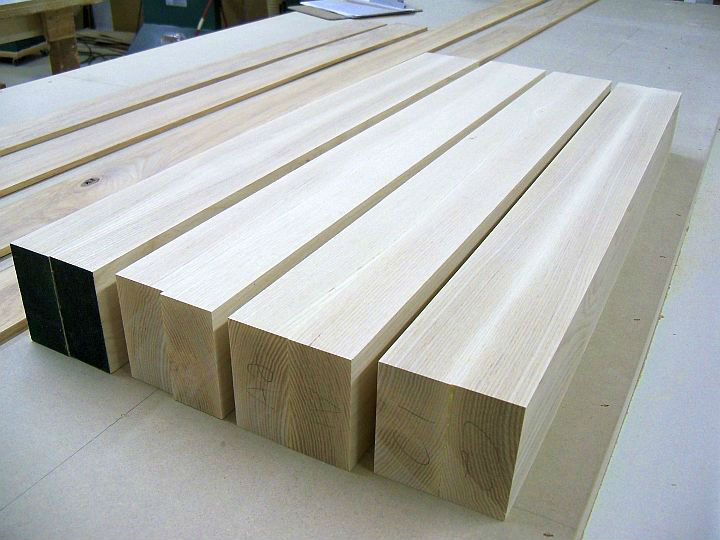
After finishing the tops, we started work on the legs. Since the table is so large, and the four legs are all that are supporting it, we designed them to be 3.5″ square. We milled some 8/4 Ash to 1.75″ thick, ripped the boards to 4″ wide, and glued them together. After allowing them to dry overnight, we milled them down to their final size of 3.5″ square and cut them to 29.625″ long.
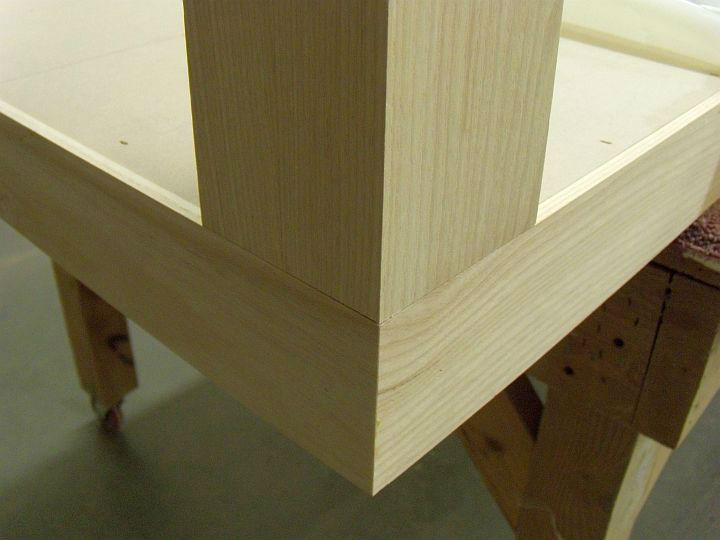
By cutting the legs at 29.625″, we gave ourselves 2.625″ for the length of the tenon, since we want the final table height to be at 30″ and the table top is 3″ thick. We then set up the dado blade on the table saw and removed about 1.3″ from two outsides of the leg and about .2″ from the two insides.
During this process we focused on making sure two things happened. First, we made sure that the fit of the mortise and the tenon was snug, but not tight. We wanted to hear that whoosh of air escape as we pressed the leg into place. The second thing was that we wanted to make sure the outsides of the legs were proud of the edge of the table top, not by a lot, just a little. We knew we could use the widebelt sander to remove a hundredth of an inch from the side of the leg if it was proud of the table top, but we couldn’t add material if the side of the leg was too shy.
We finessed the fit of all four legs until the two sides lined up almost perfectly. Then we used the widebelt to remove just enough material from the outsides to create a perfectly flush fit.
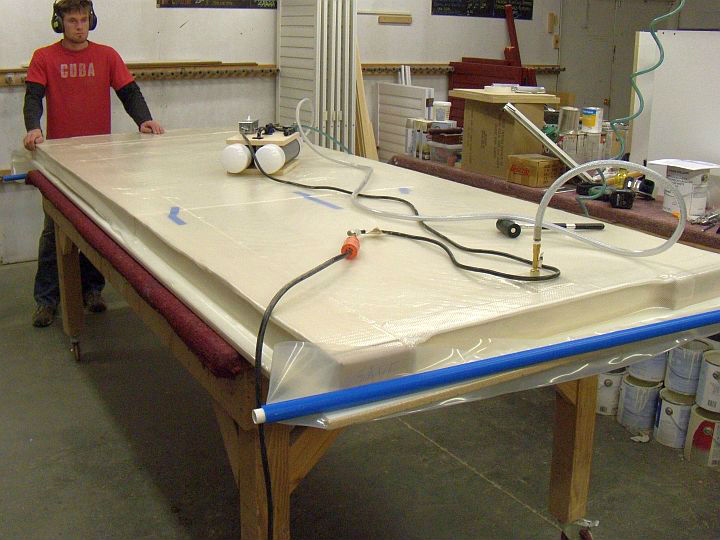
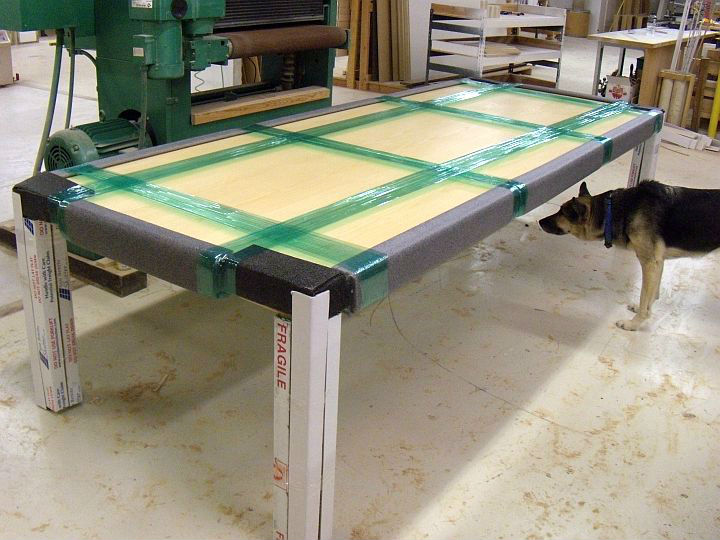
After the legs were completed, we turned out attention to veneering the table top. We used one full sheet of 4′x10′ ash veneer to cover the top. The size of the table top meant that we had to move pretty fast when applying the glue. The glue needed to be applied thin enough to prevent any pooling under the veneer, but thick enough that it would not dry before the veneer was applied and the entire assembly could be inserted into the bag and pressed.
We decided to use a catalyzed veneer-specific glue that had a longer open time than other glues, and it seemed to have worked just fine. We did have a few light spots around the perimeter that had to be spot glued once the top came out of the bag, but nothing to major.
Once the top was completed we could finally glue the legs on. This step was so simple and easy and was such a satisfying milestone!
We added glue to both the tenons on the legs and the mortises in the table top. With a few parallel bar clamps we were in business.
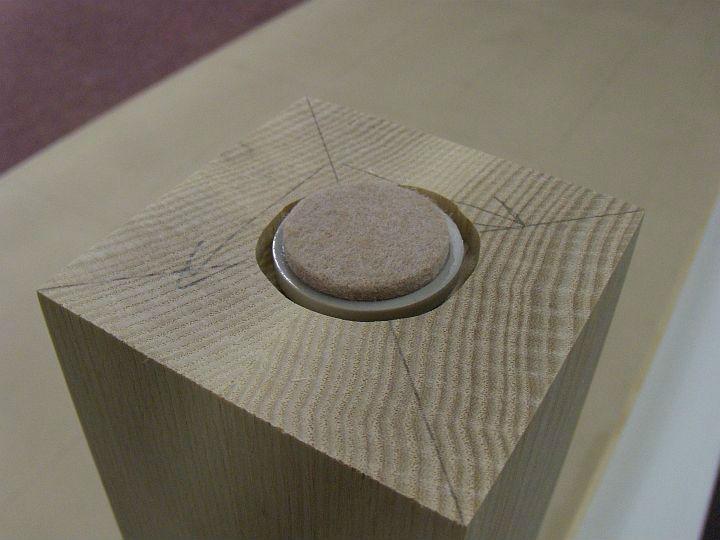
We always add heavy duty adjustable glides under all our tables and heavy furniture to keep the floor from being damaged when the furniture is moved and to allow the homeowners to adjust the corners to ensure a solid connection to the floor.
After the final sanding, a coat of sanding sealer, and two coats on varnish, we wrapped the table up and sent it on its way with a blanket wrapped shipper to Memphis.


Have something to say? Share your thoughts with us in the comments below.