Click on the image to open
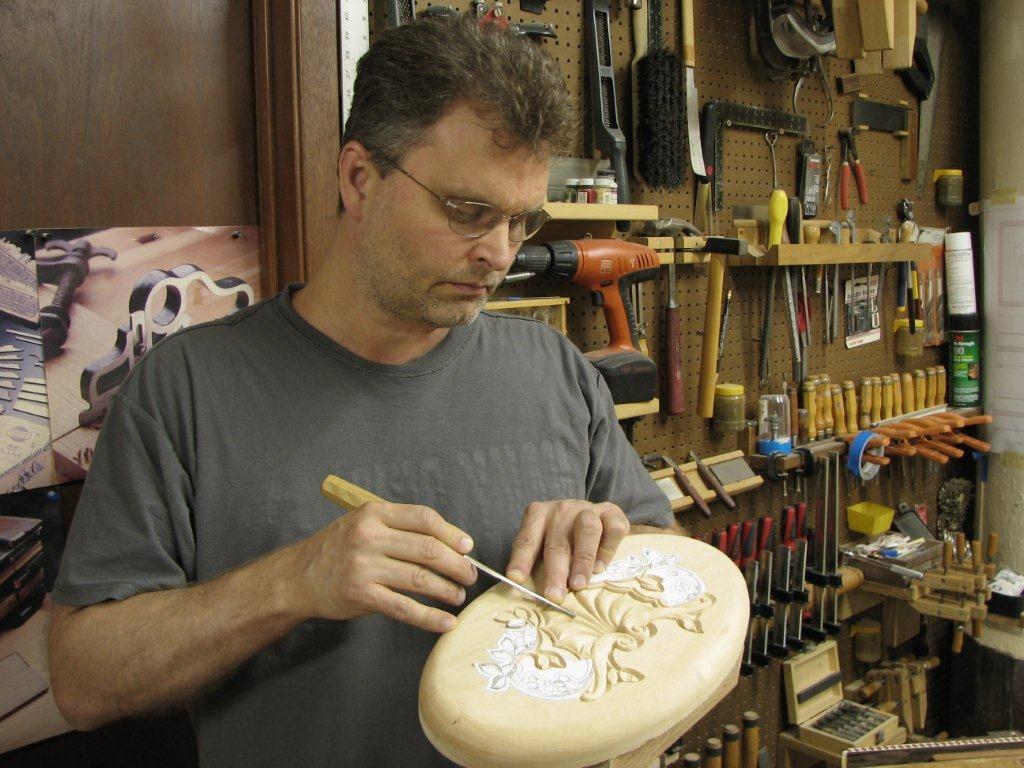
Dennis Zongker at work
Click on the image to open
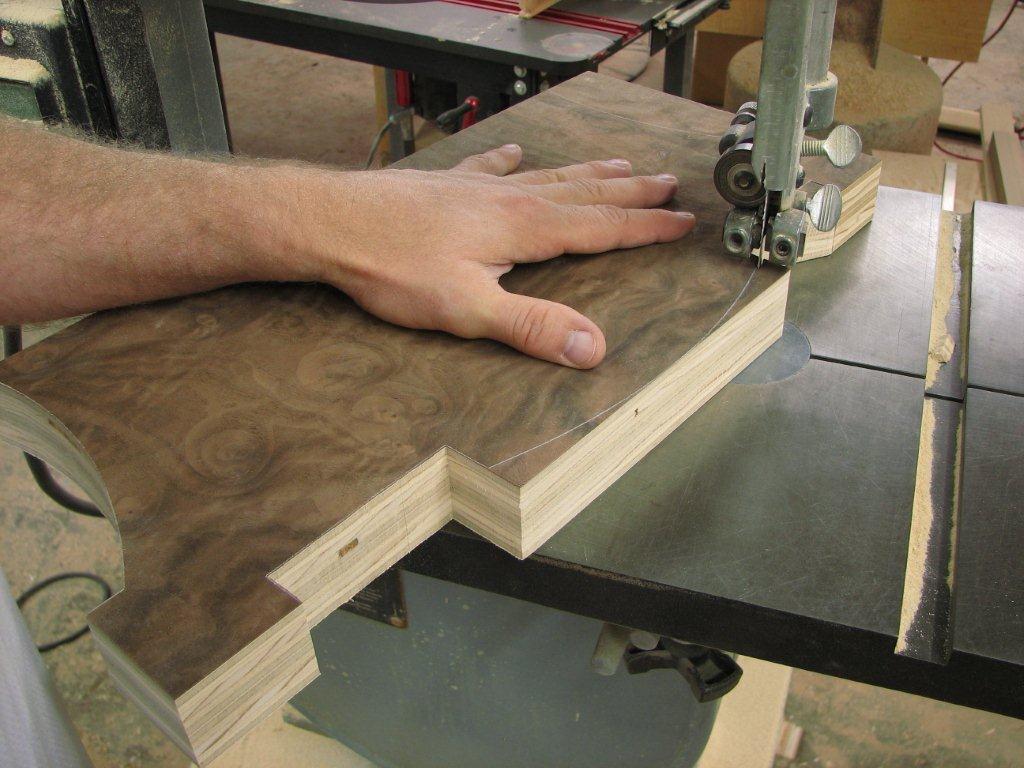
The first step to building this jewelry box is making the bottom platform. On the bandsaw I cut the bottom platform to shape by following the outside edge of the pencil lines. For more details, purchase Wooden Boxes: Skill-Building Techniques for Seven Unique Projects ©2013 The Taunton Press this fall.
Click on the image to open
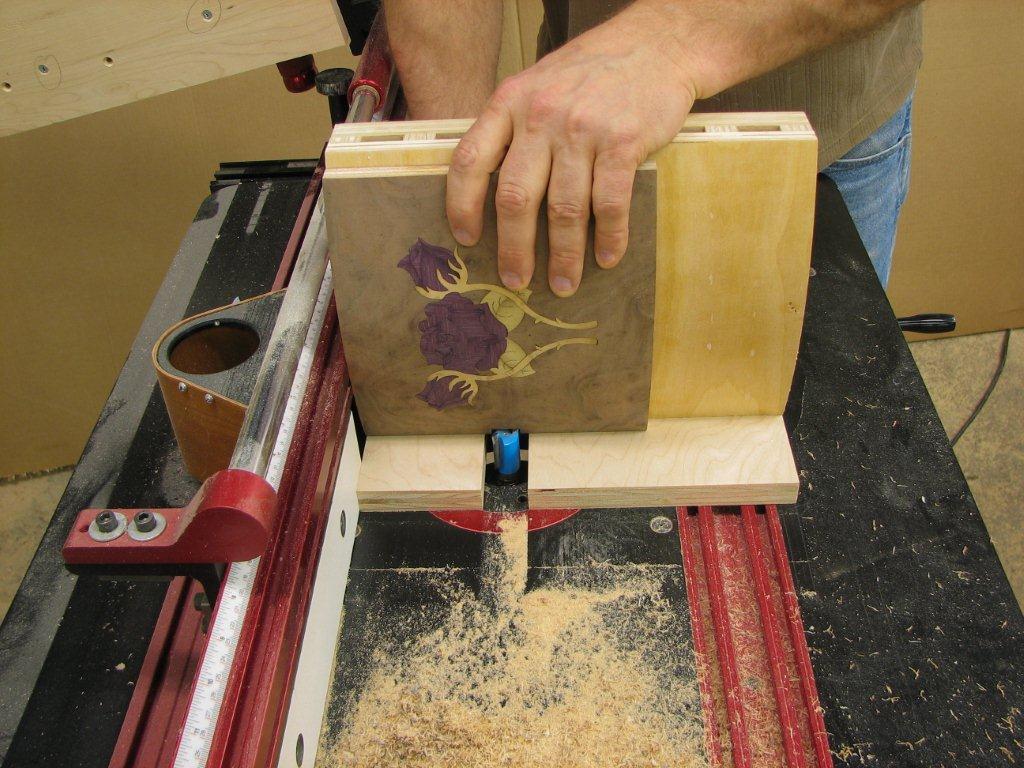
Placing the inside face of the back flat onto the router table lining up to the pencil line. Then slowly feed the back across the router bit. For more details, purchase Wooden Boxes: Skill-Building Techniques for Seven Unique Projects ©2013 The Taunton Press this fall.
Click on the image to open
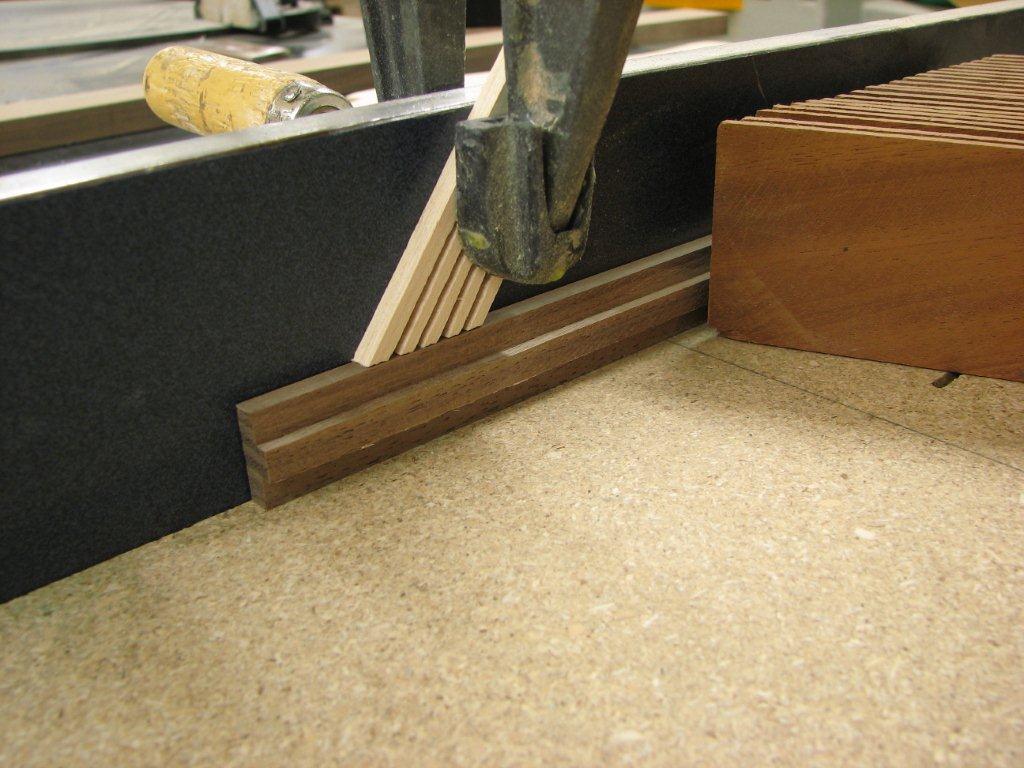
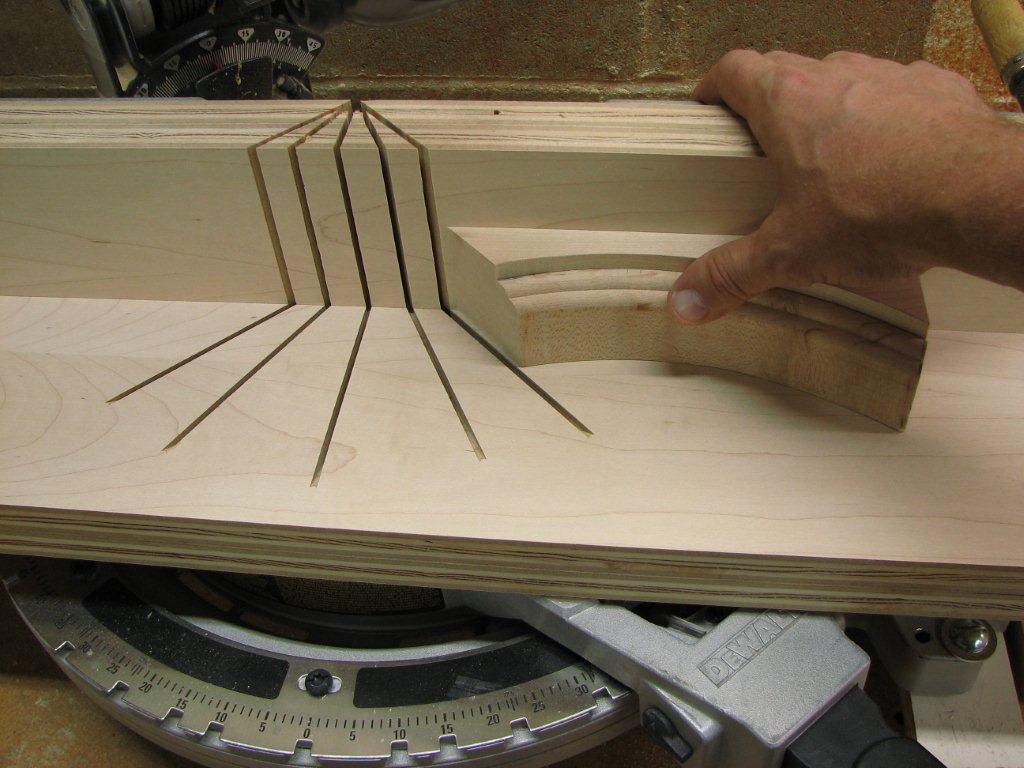
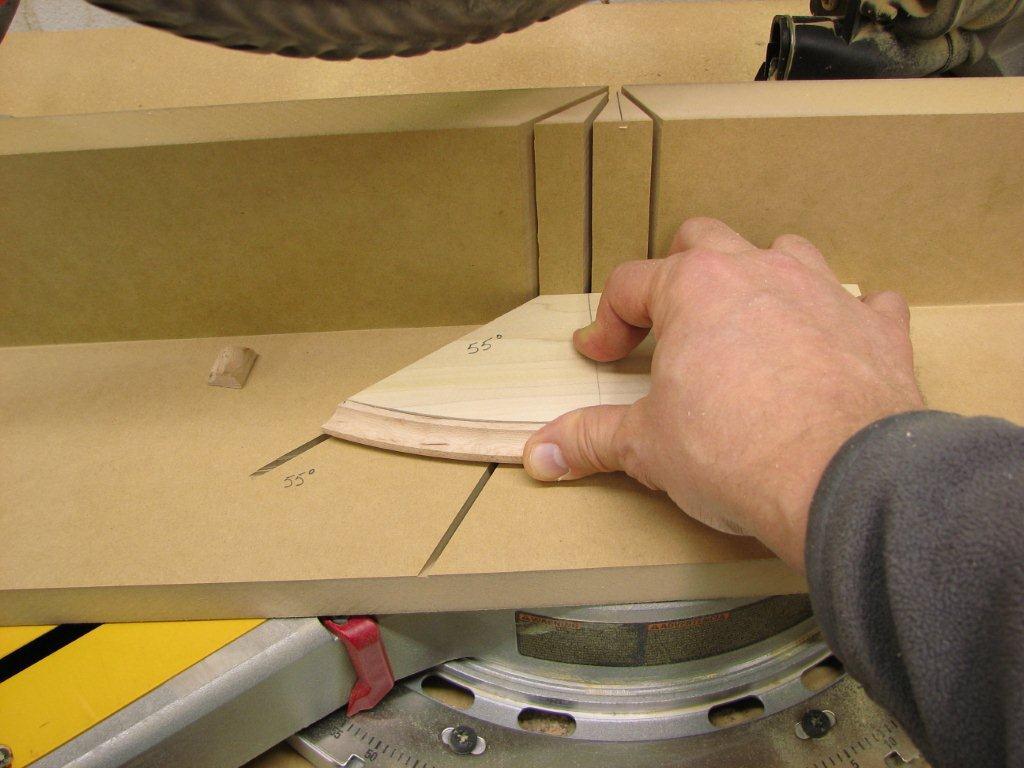
For the two end radius pieces of trim, you must cut a 62° angle. However, since miter saws don’t cut that sharp of an angle, you must make a support block. Adjust the miter-saw blade to 45°, set the support block behind the radius trim, then cut the trim to produce a 62° angle. For more details, purchase Wooden Boxes: Skill-Building Techniques for Seven Unique Projects ©2013 The Taunton Press this fall.
Click on the image to open
Cutting the drawer slides from solid walnut. For this box, I cut six pieces, each measuring 5/16 in. thick x ¾ in. wide x 7¼ in. long. For more details, purchase Wooden Boxes: Skill-Building Techniques for Seven Unique Projects ©2013 The Taunton Press this fall.
Click on the image to open
Taping veneer where the sides and front corners and the inside tray will be glued together to prevent any glue seepage from getting onto the veneer. For more details, purchase Wooden Boxes: Skill-Building Techniques for Seven Unique Projects ©2013 The Taunton Press this fall.
Click on the image to open
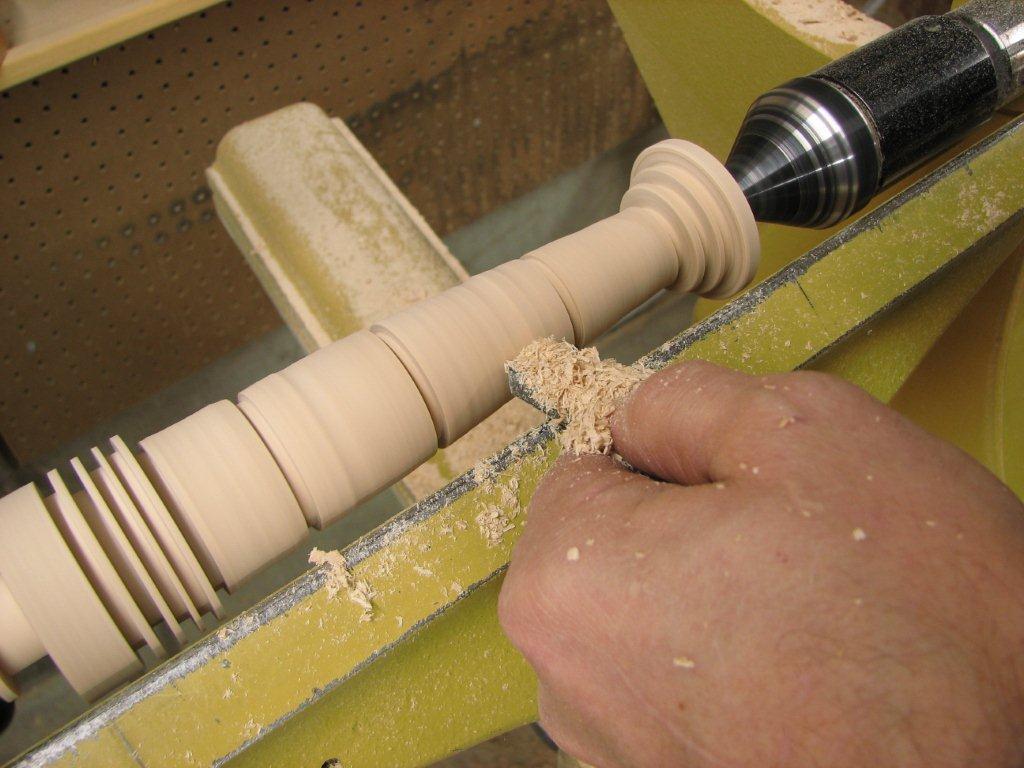
One of the beautiful features of this jewelry box is the pair of turned maple columns. For more details, purchase Wooden Boxes: Skill-Building Techniques for Seven Unique Projects ©2013 The Taunton Press this fall.
Click on the image to open
Marquetry veneer packets: Place all six pieces on top of one of the plywood clamping cauls squaring them up then lightly clamp the center of the packet onto the plywood on top of the workbench with a bar clamp. For more details, purchase Wooden Boxes: Skill-Building Techniques for Seven Unique Projects ©2013 The Taunton Press this fall.
Click on the image to open
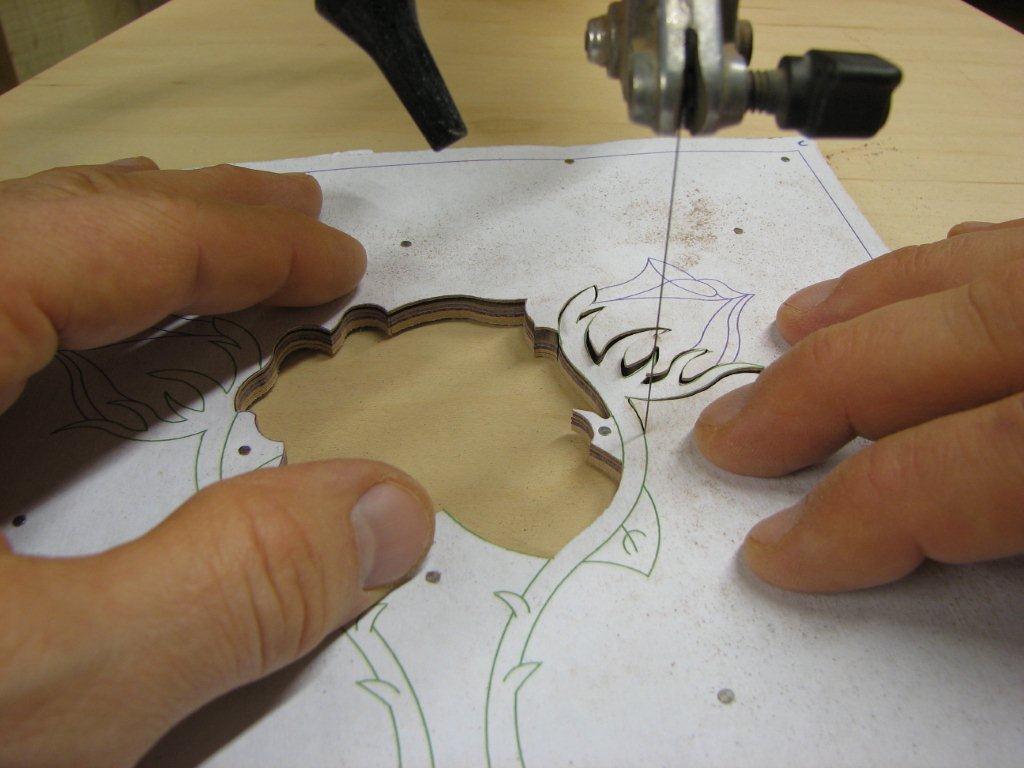
Cutting the marquetry packet for the front radius doors using a scroll saw. For more details, purchase Wooden Boxes: Skill-Building Techniques for Seven Unique Projects ©2013 The Taunton Press this fall.
Click on the image to open
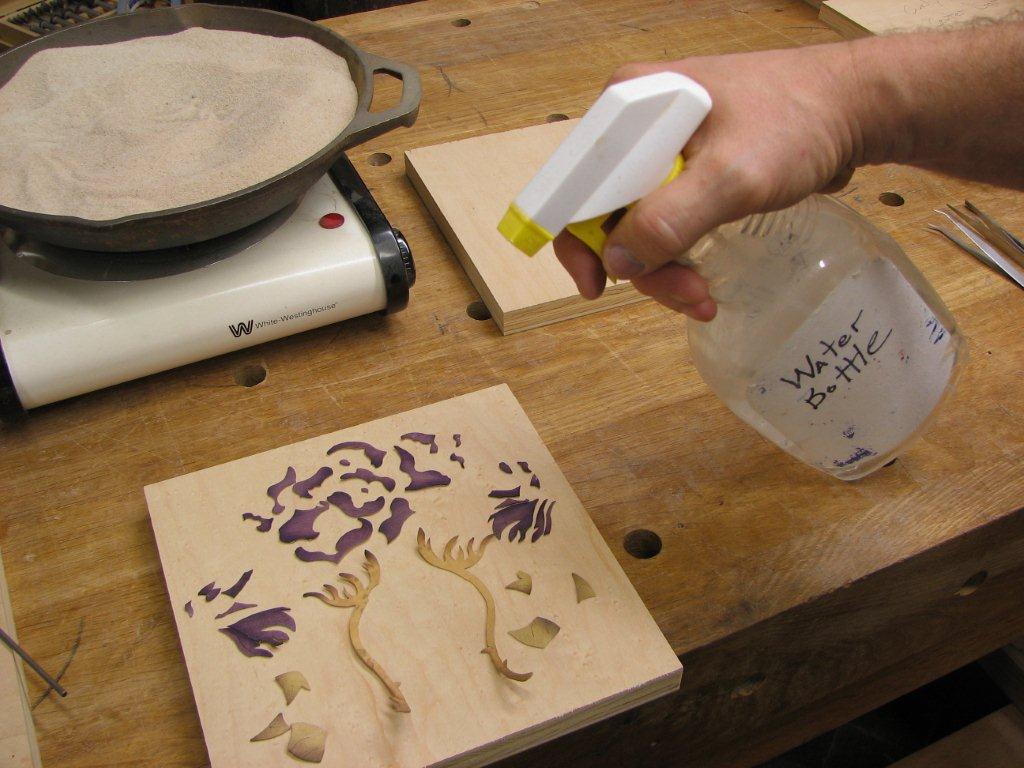
The shaded marquetry pieces will curl up a little from the heat. To flatten them down place all the shaded pieces onto one plywood clamping caul and lightly spray with water. For more details, purchase Wooden Boxes: Skill-Building Techniques for Seven Unique Projects ©2013 The Taunton Press this fall.
Click on the image to open
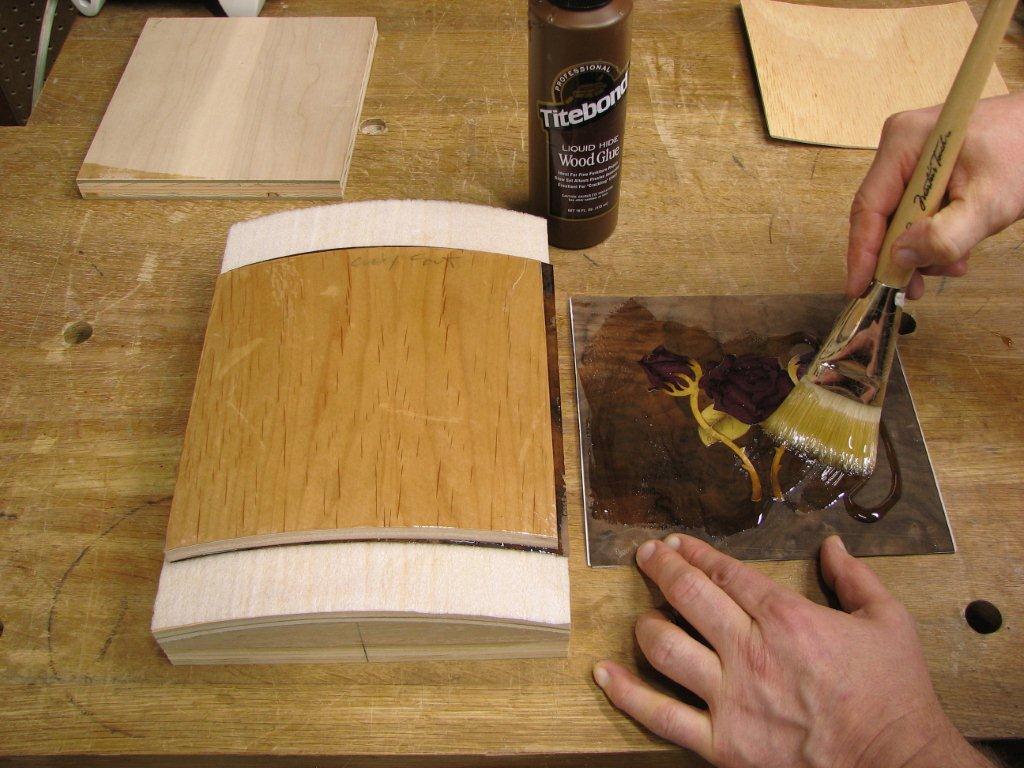
Gluing the marquetry to the door. Glue both the back face of the door and the front marquetry at the same time using hot animal hide glue. For more details, purchase Wooden Boxes: Skill-Building Techniques for Seven Unique Projects ©2013 The Taunton Press this fall.
Click on the image to open
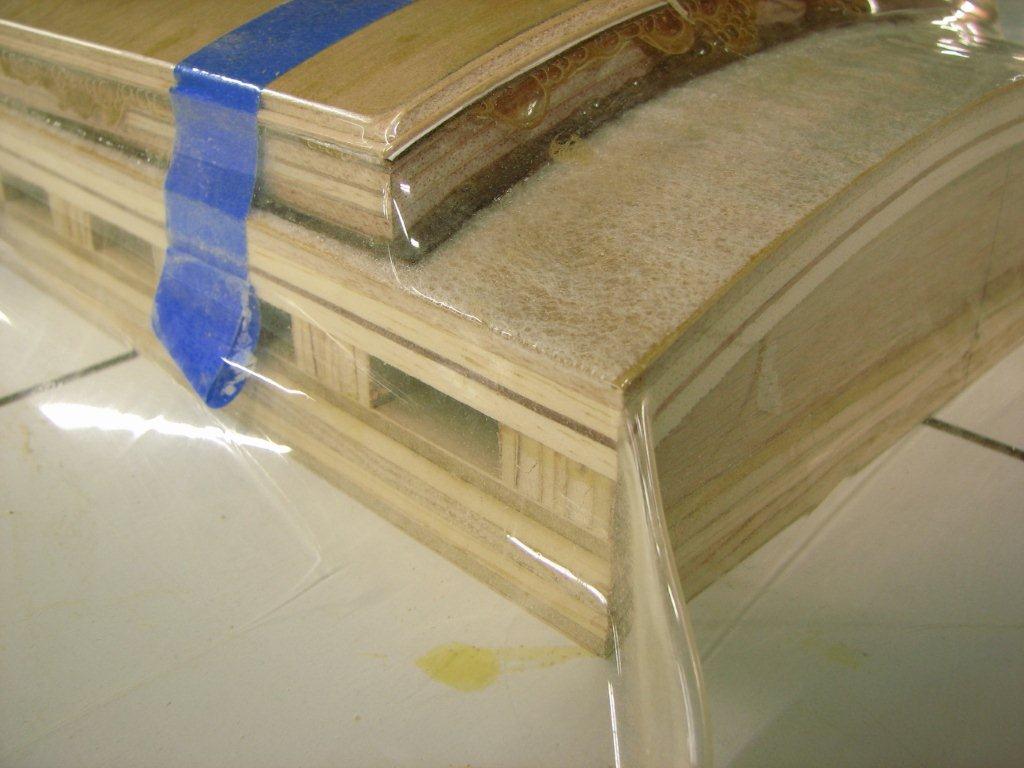
After the glue has been applied I place it into a vacuum press bag and let the glue dry for four hours.For more details, purchase Wooden Boxes: Skill-Building Techniques for Seven Unique Projects ©2013 The Taunton Press this fall.
Click on the image to open
After the glue has been applied I place it into a vacuum press bag and let the glue dry for four hours. For more details, purchase Wooden Boxes: Skill-Building Techniques for Seven Unique Projects ©2013 The Taunton Press this fall.
Click on the image to open
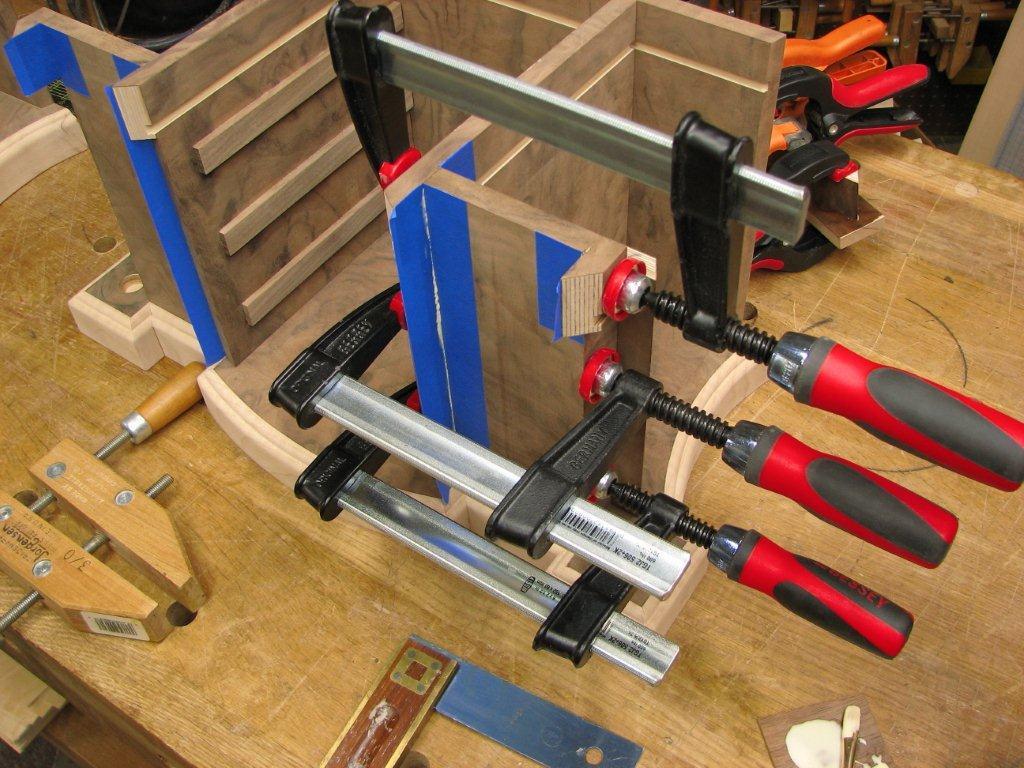
Glue and clamp the walnut door pulls into the notches. For more details, purchase Wooden Boxes: Skill-Building Techniques for Seven Unique Projects ©2013 The Taunton Press this fall.
Click on the image to open
For making simple and durable drawer slides without having to use any screws or hardware by routing out a groove to fit over the wooden slides. For more details, purchase Wooden Boxes: Skill-Building Techniques for Seven Unique Projects ©2013 The Taunton Press this fall.
Click on the image to open
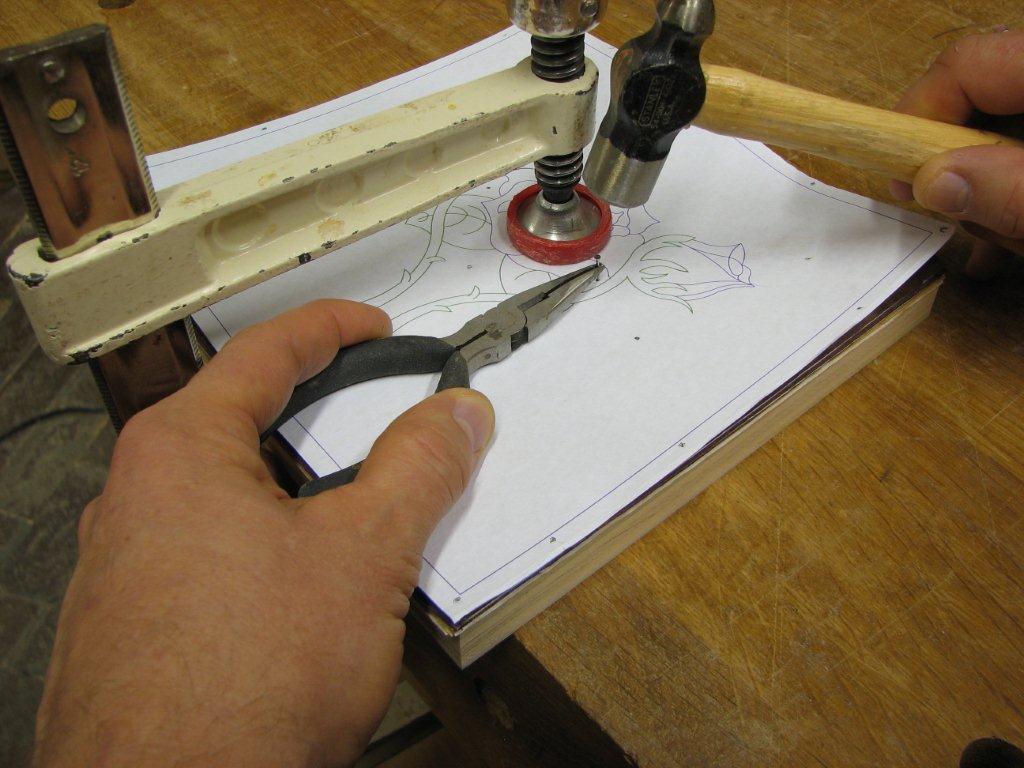
Smear yellow glue onto the dowels, then tap them into the holes. For more details, purchase Wooden Boxes: Skill-Building Techniques for Seven Unique Projects ©2013 The Taunton Press this fall.
Click on the image to open
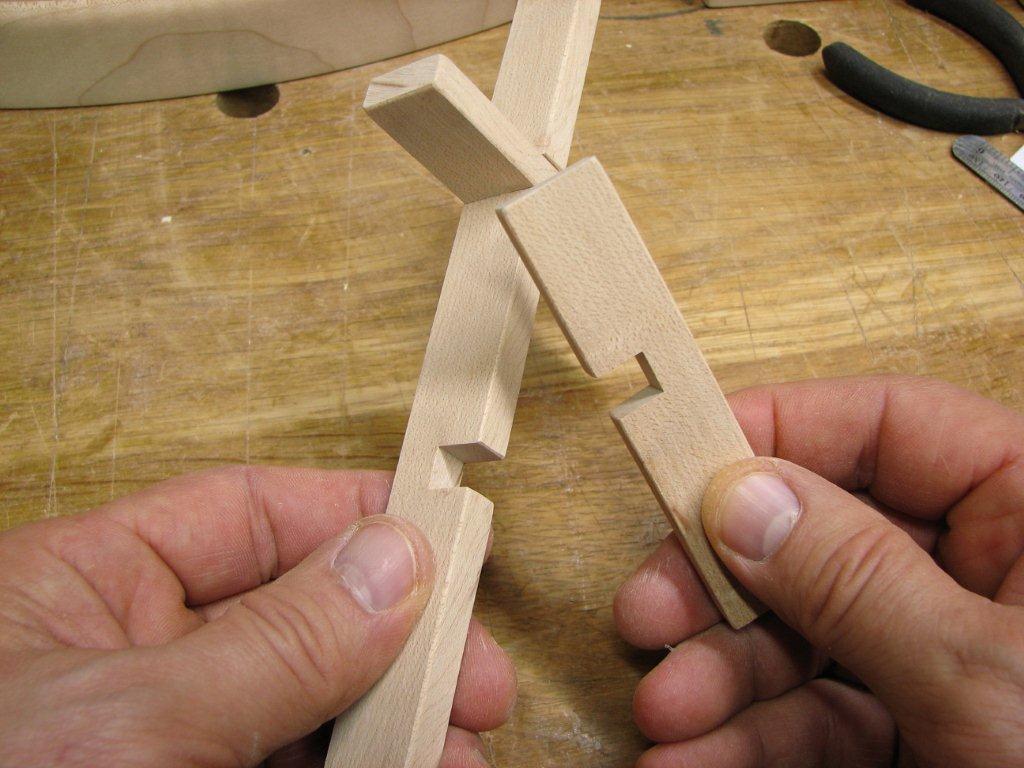
To layout where to cut in the lap joints set the pieces into their trays and mark them to where they will lap together. For more details, purchase Wooden Boxes: Skill-Building Techniques for Seven Unique Projects ©2013 The Taunton Press this fall.
Click on the image to open
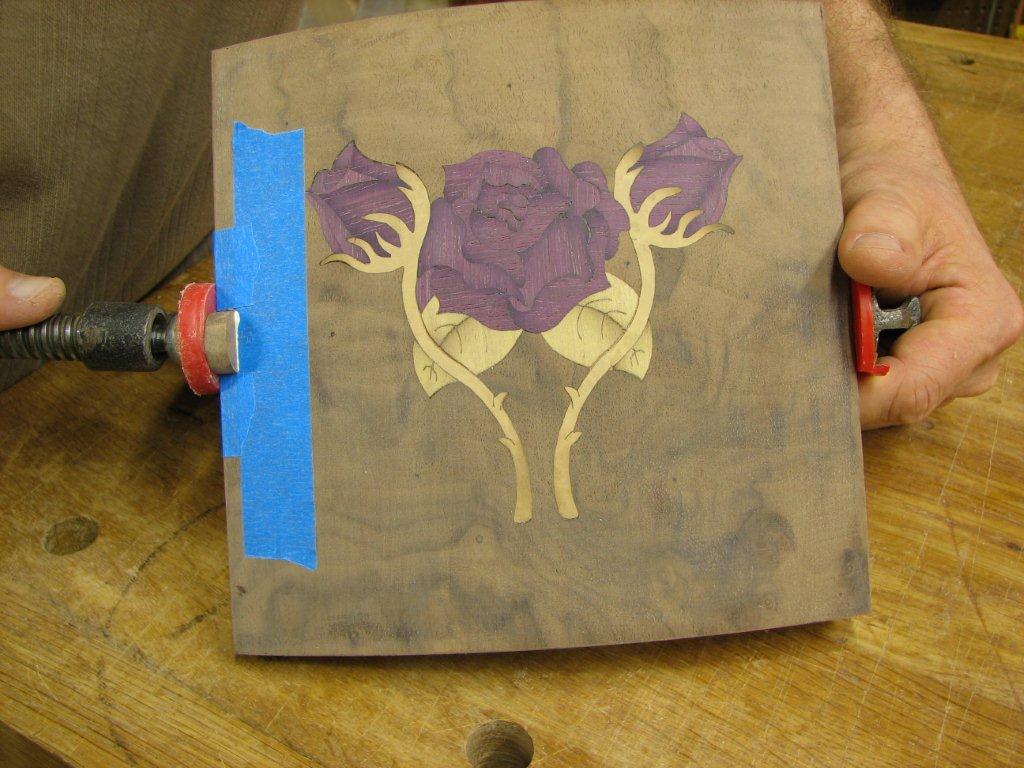
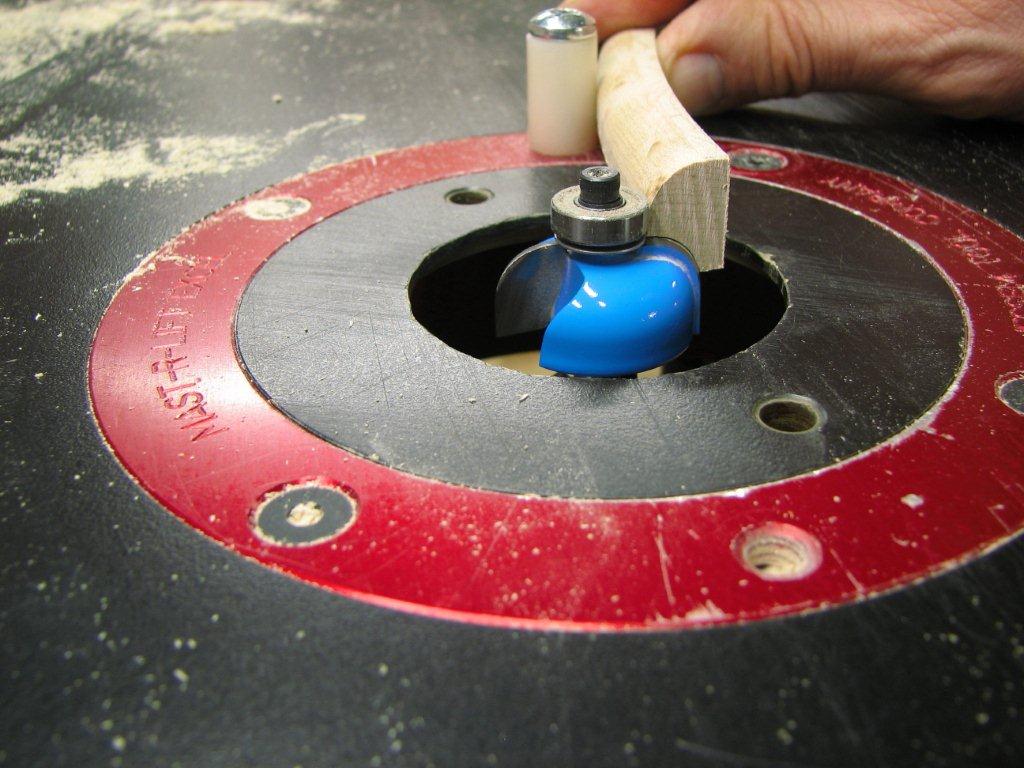
Routing in the radius and cove profile for the top edges. For more details, purchase Wooden Boxes: Skill-Building Techniques for Seven Unique Projects ©2013 The Taunton Press this fall.
Click on the image to open
Click on the image to open
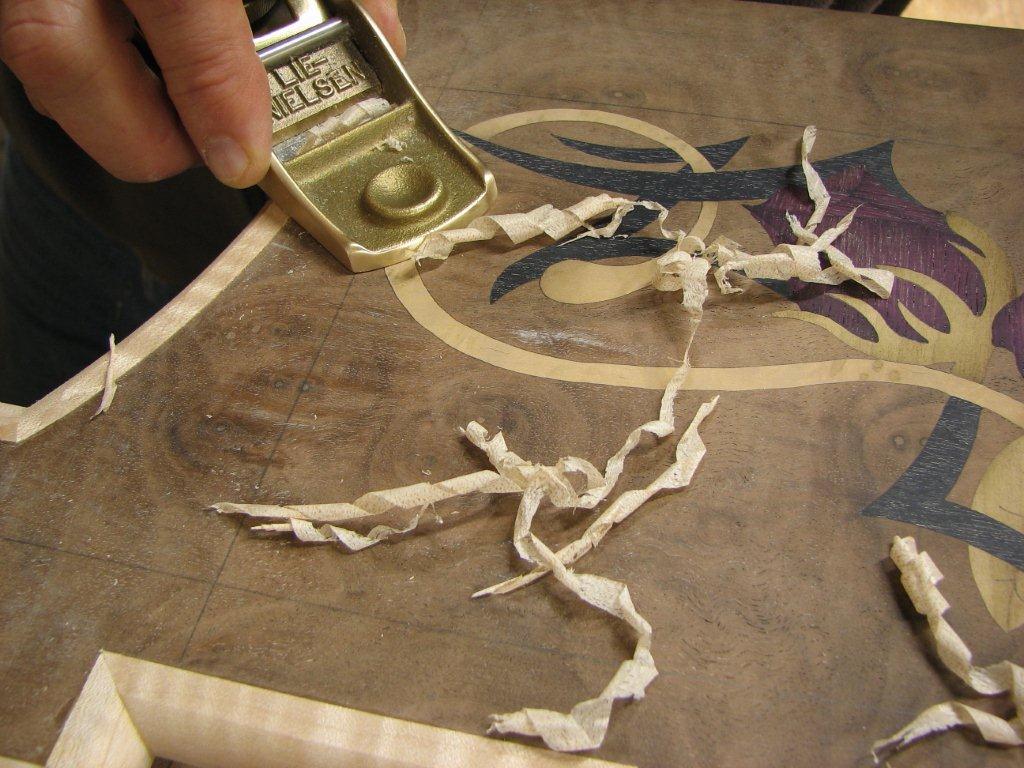
Using a low angle block plane to flush the trim to the top. For more details, purchase Wooden Boxes: Skill-Building Techniques for Seven Unique Projects ©2013 The Taunton Press this fall.
Click on the image to open
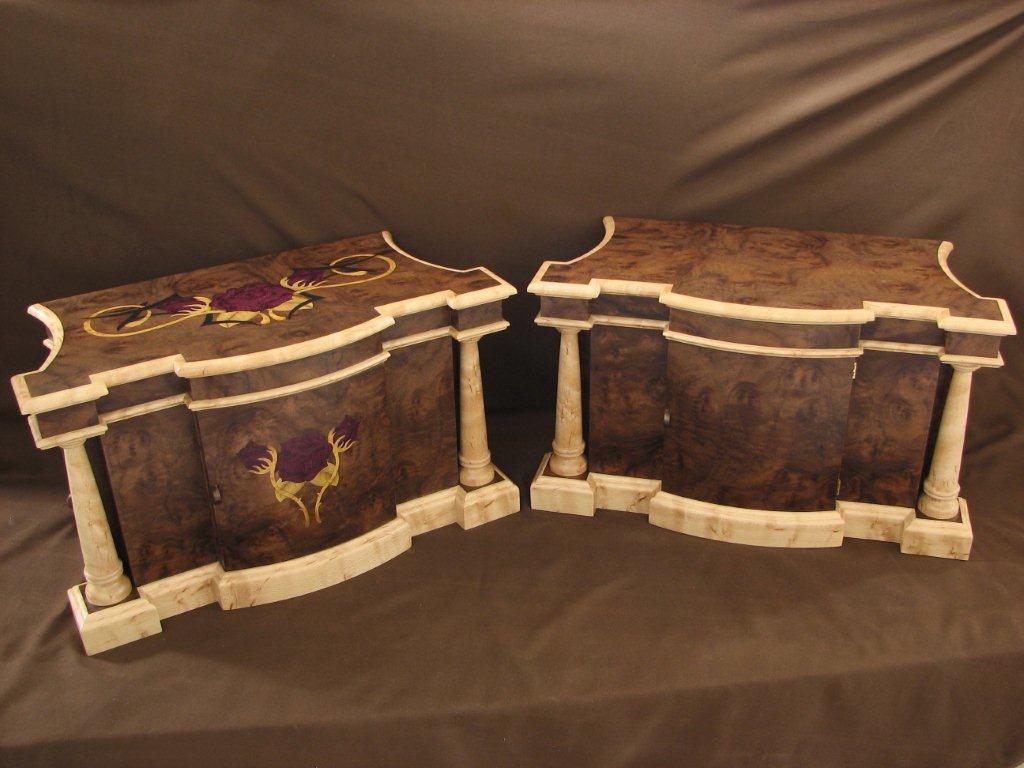
Finished image of both Traditional Jewelry boxes one with marquetry and one without. For more details, purchase Wooden Boxes: Skill-Building Techniques for Seven Unique Projects ©2013 The Taunton Press this fall.


Have something to say? Share your thoughts with us in the comments below.